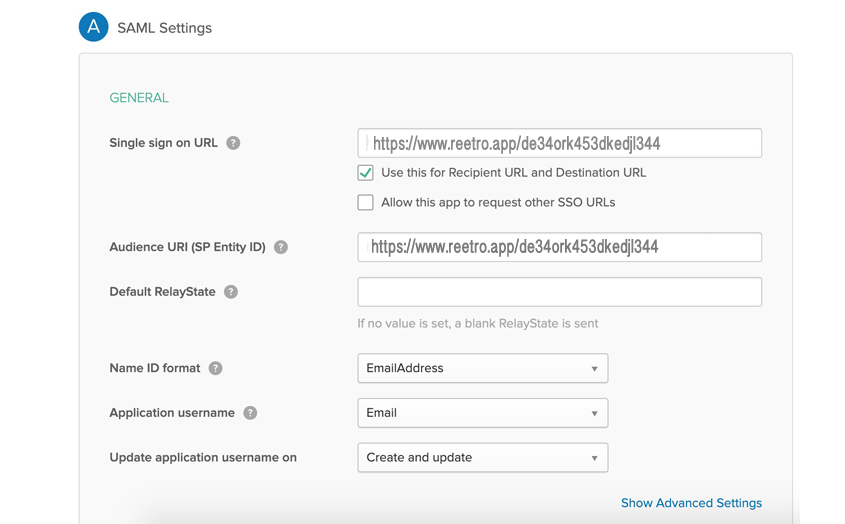
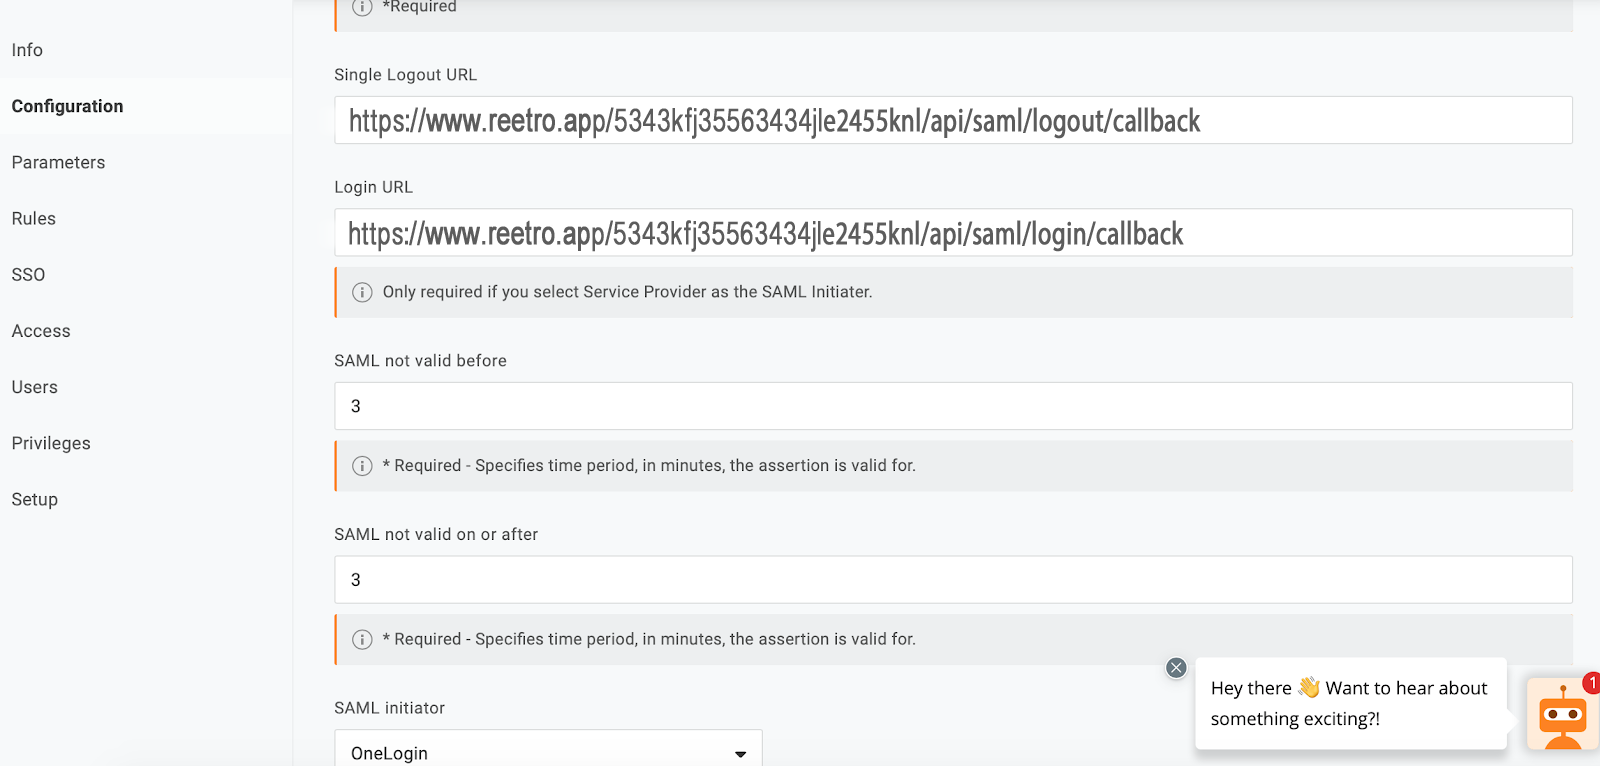
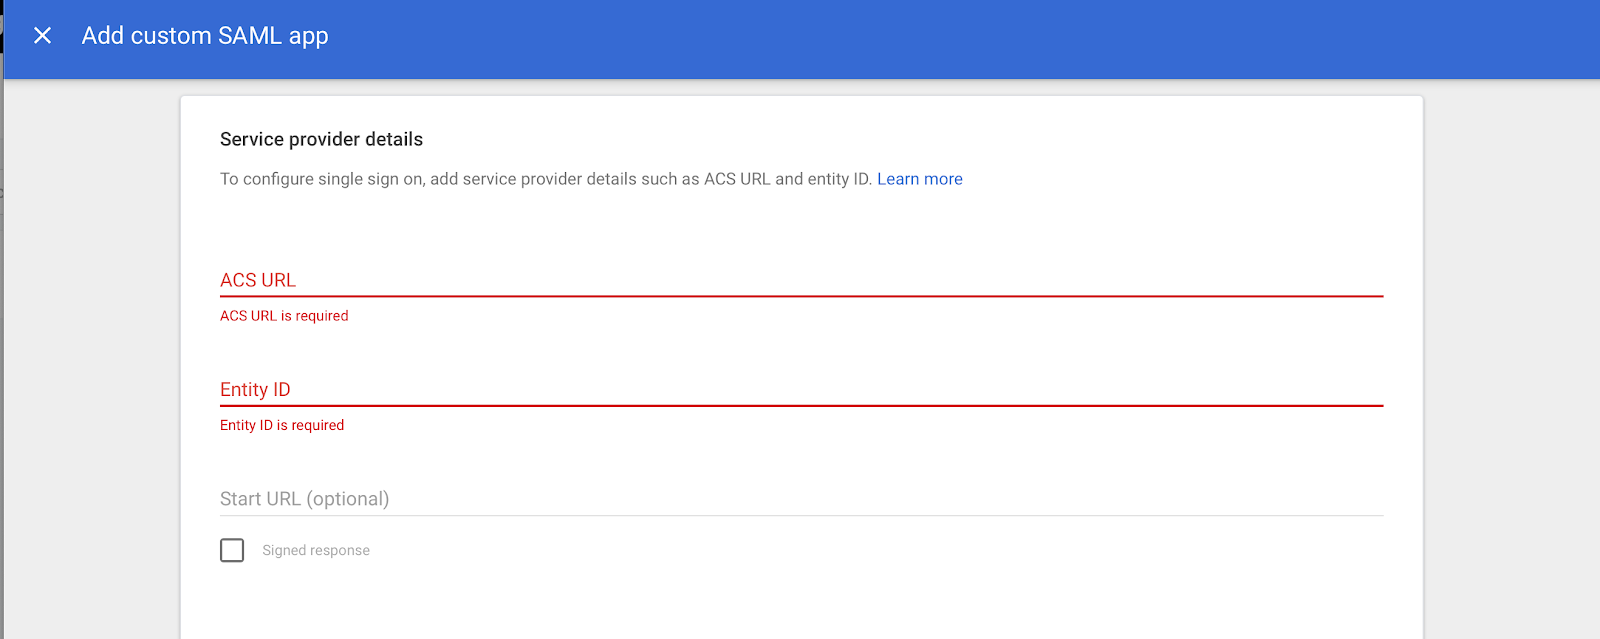
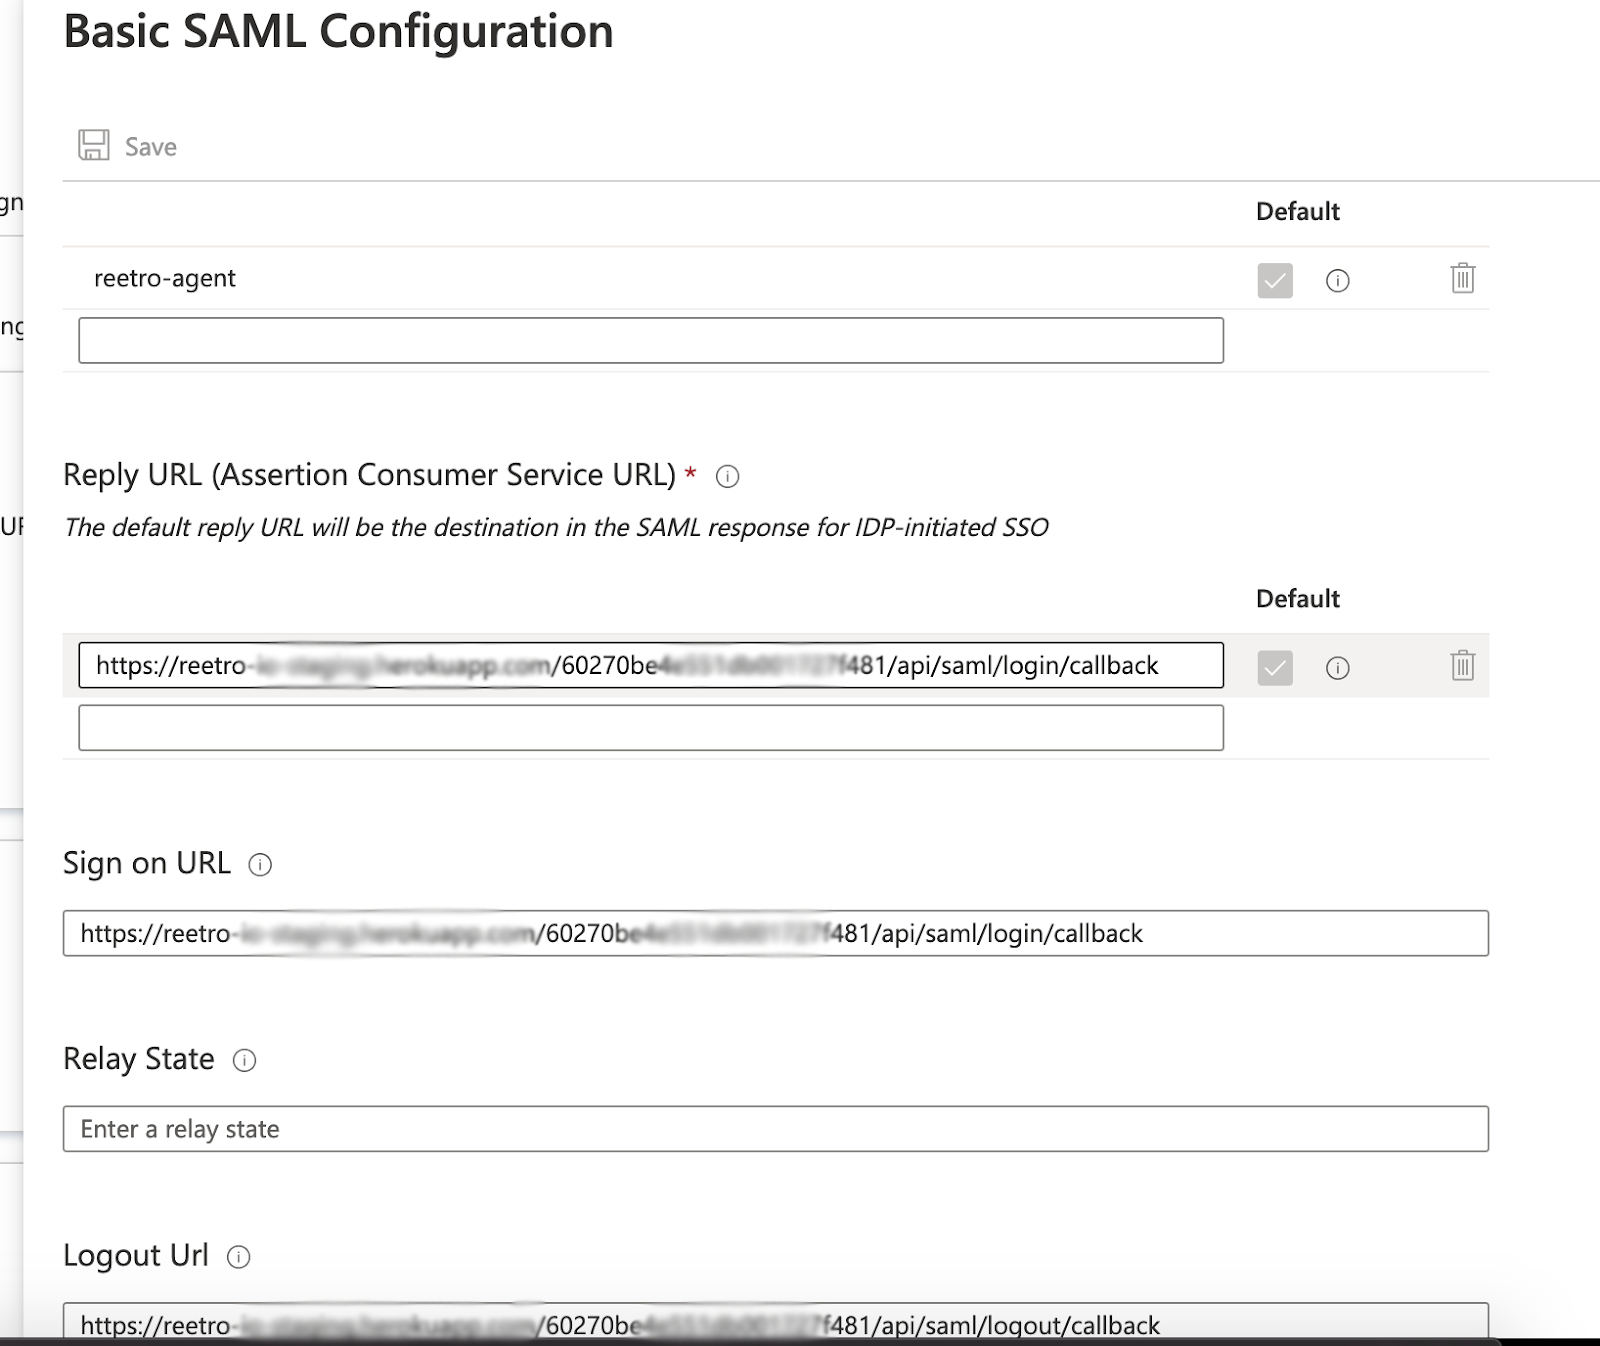
Now successfully copy/pasting urls correctly now check the next step
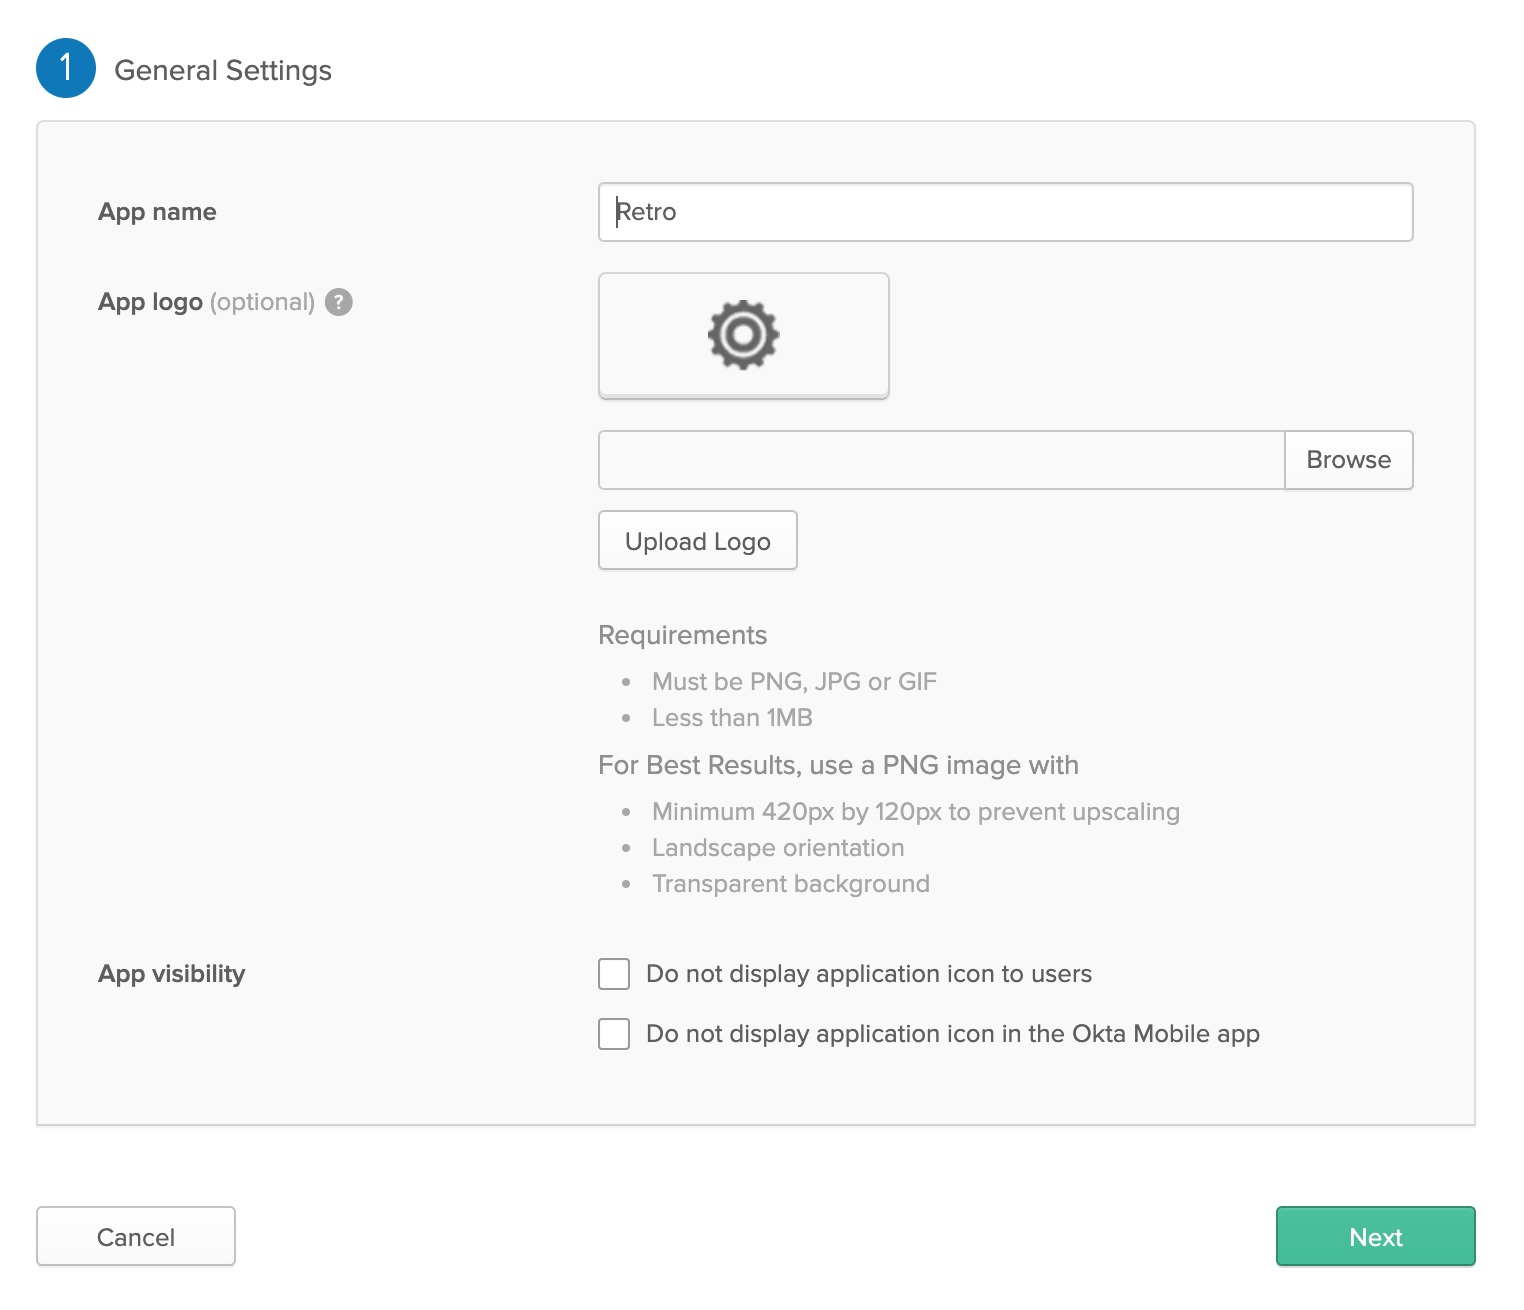
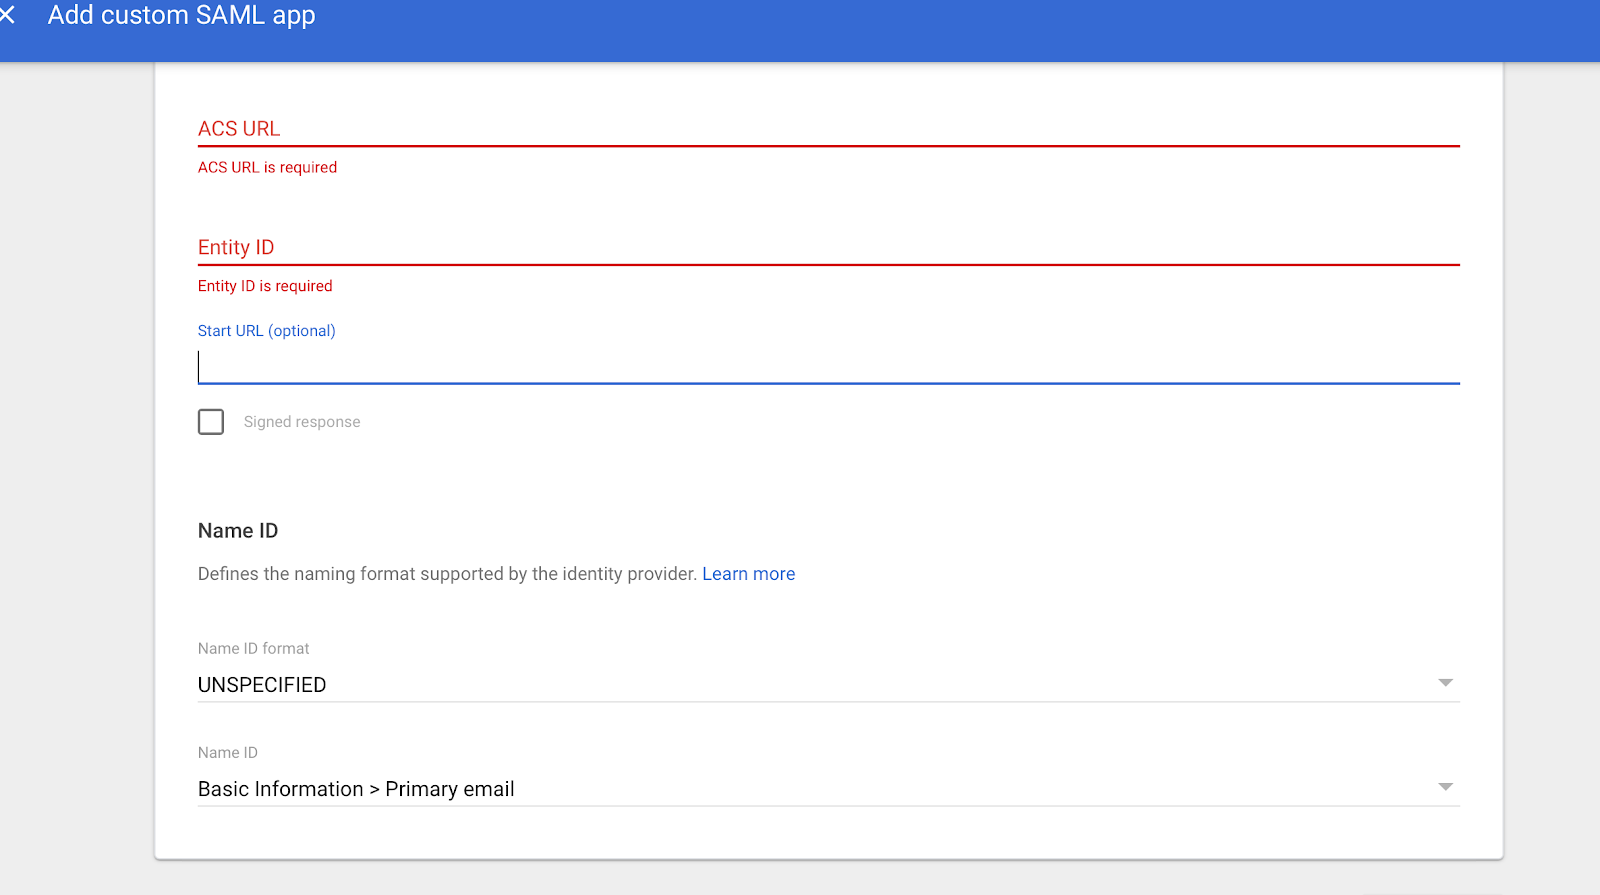
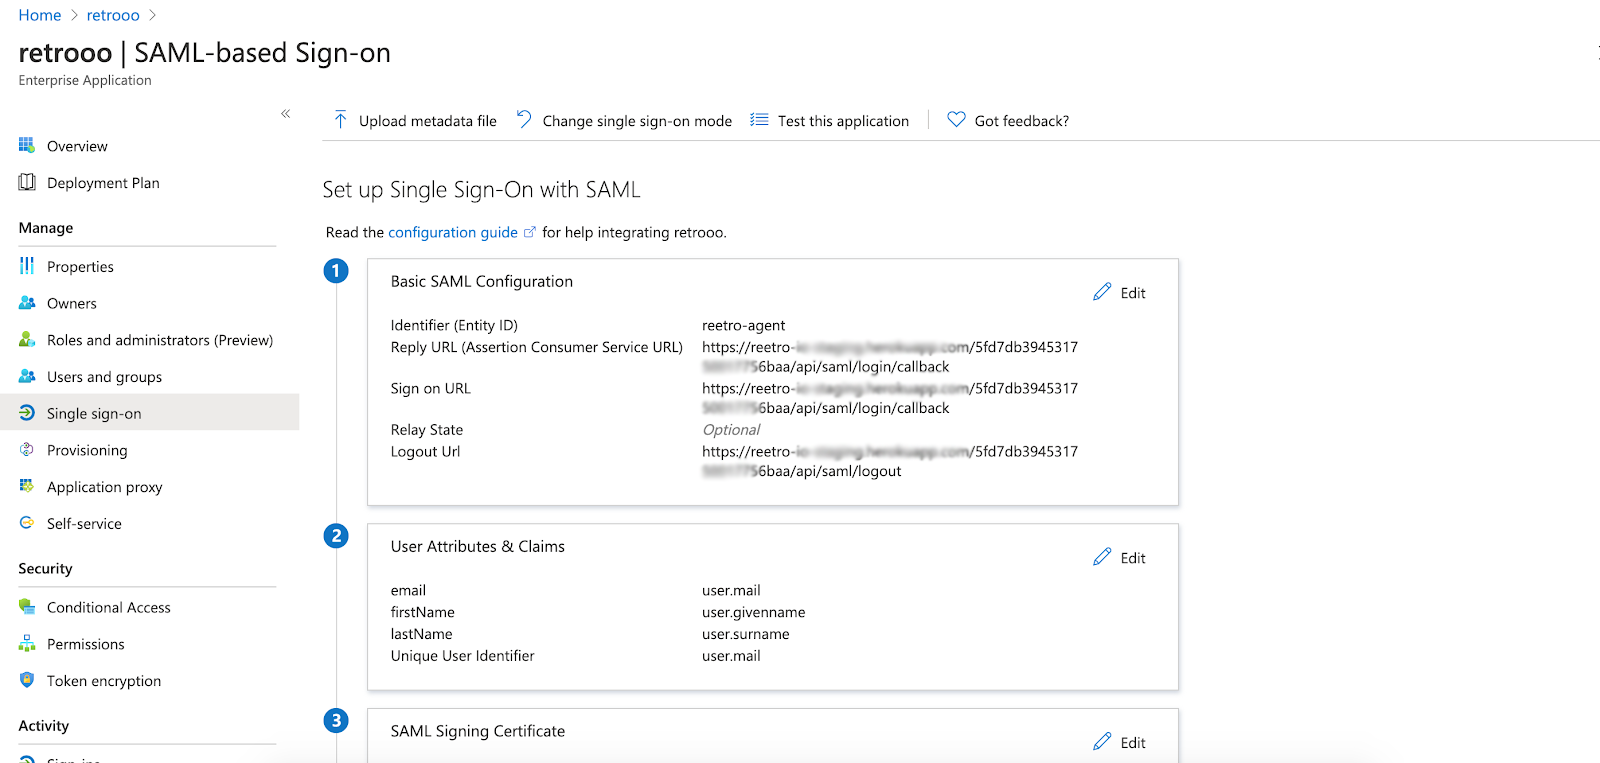
It will look like this when Basic SAML configuration is filled in above screen.
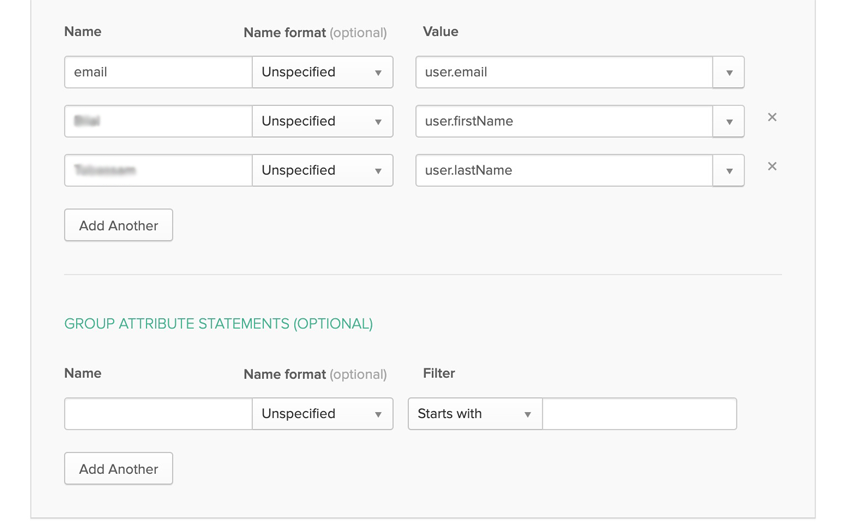
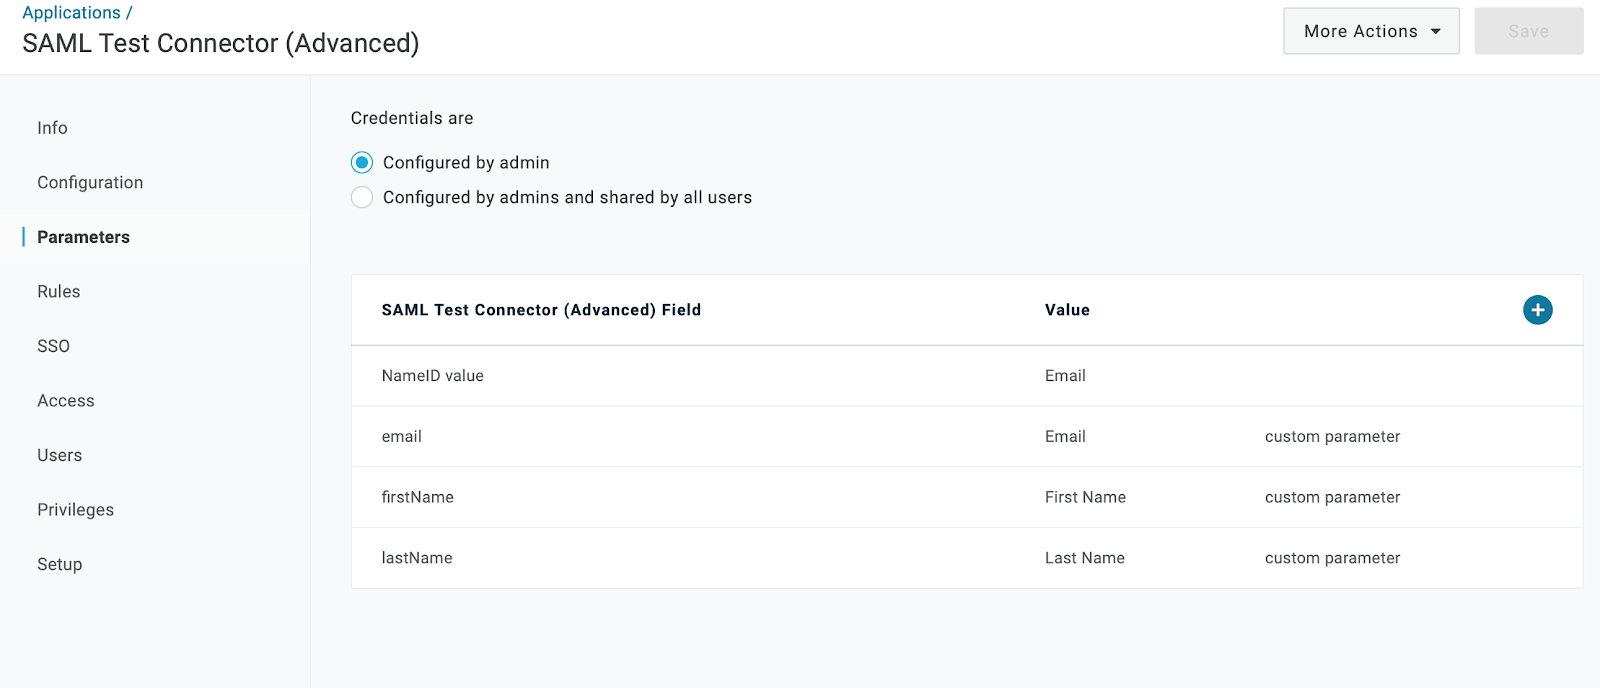
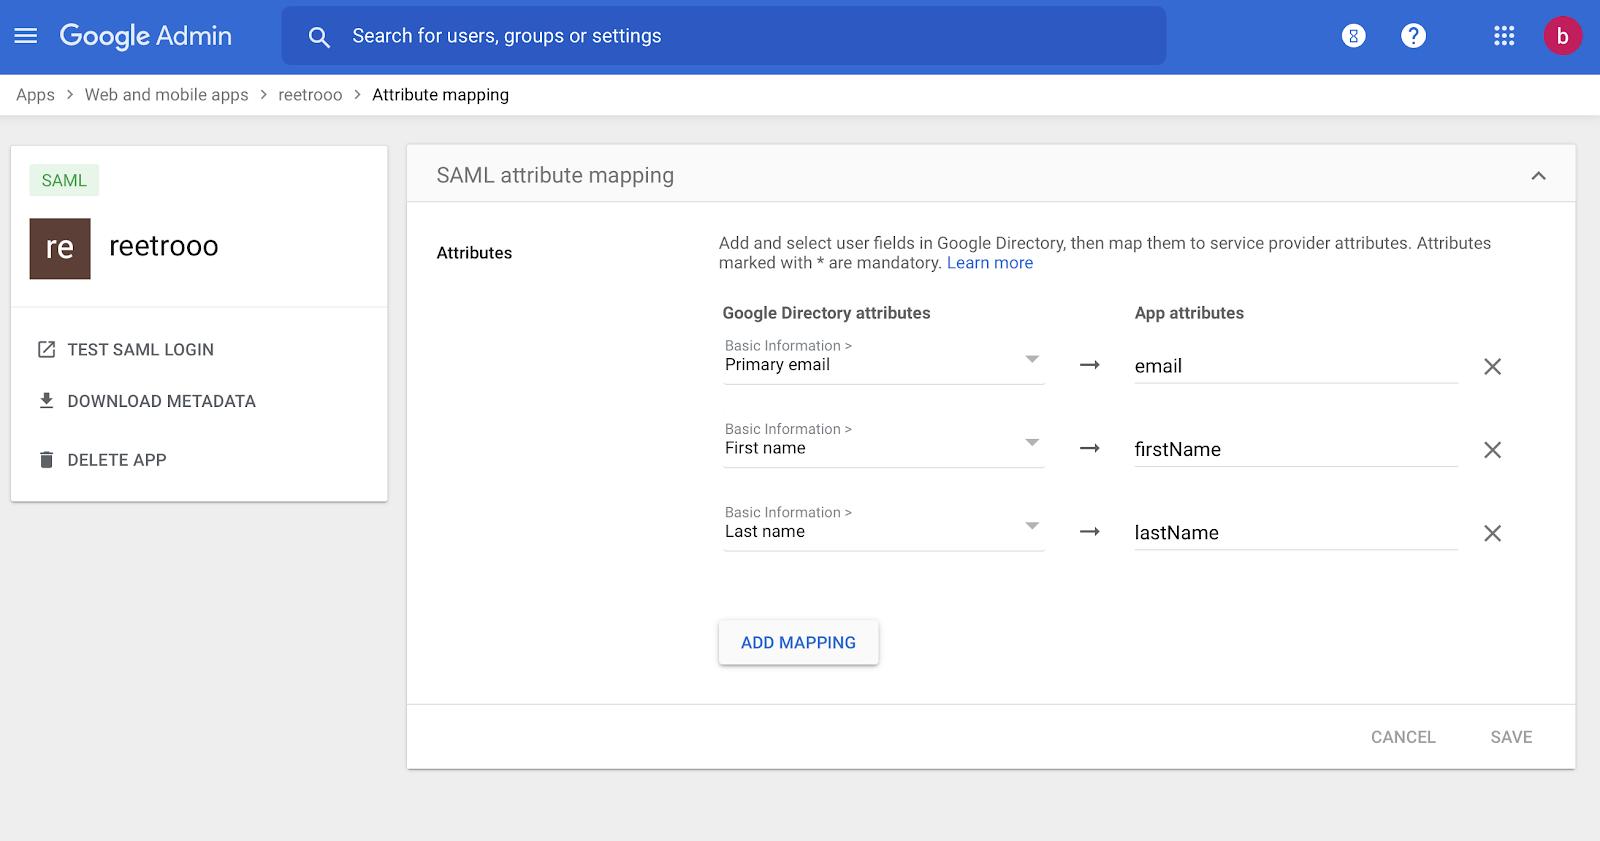
Now set the attributes by going to (User Attributes and Claims) option as shown in
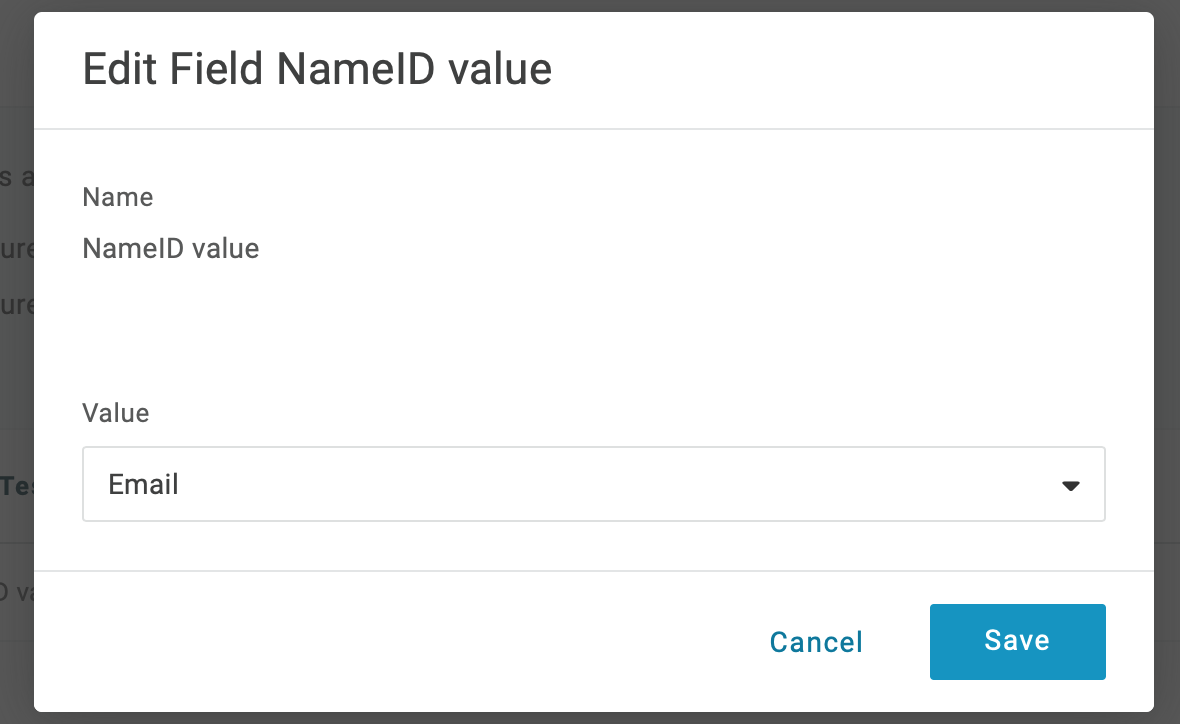
Above screen click the (Edit button)
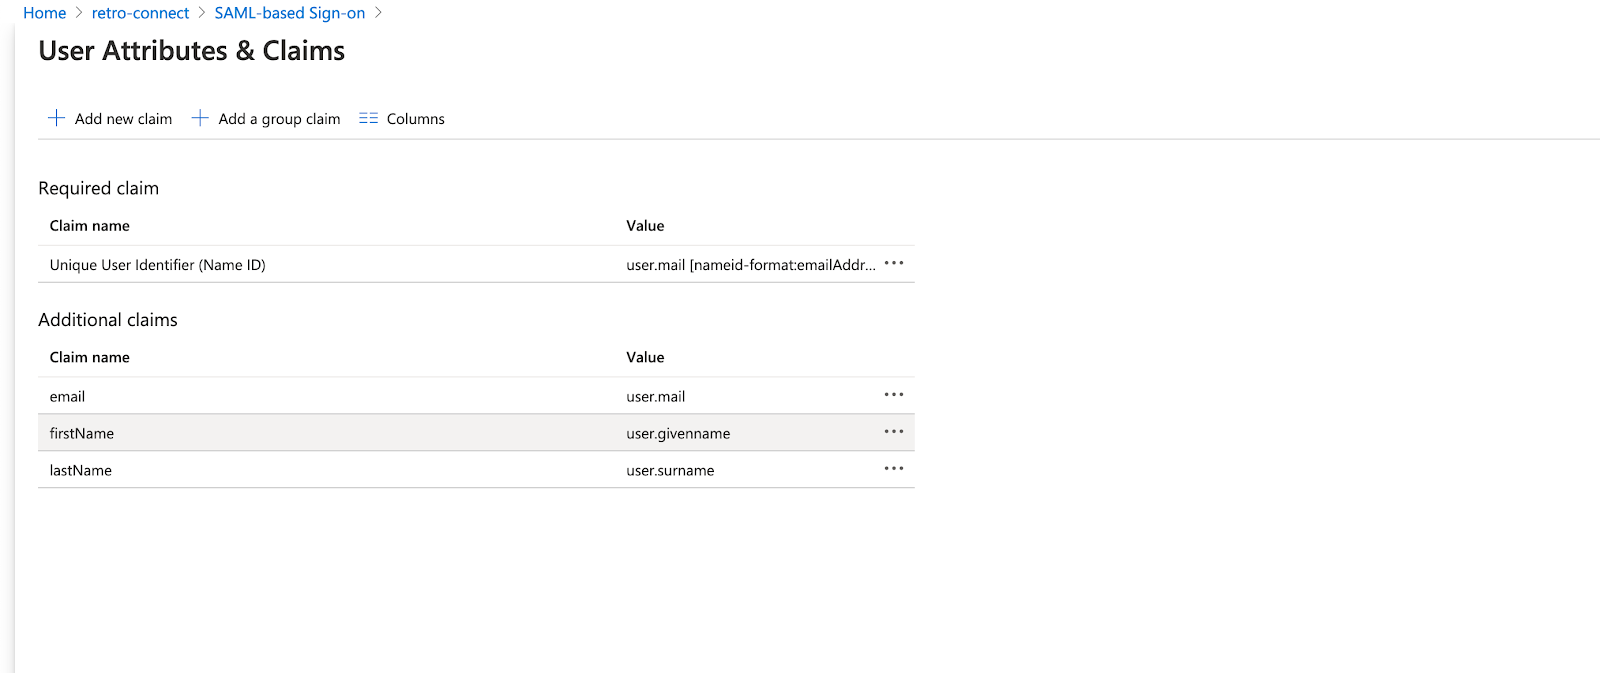
After opening the edit screen the below screen will be shown
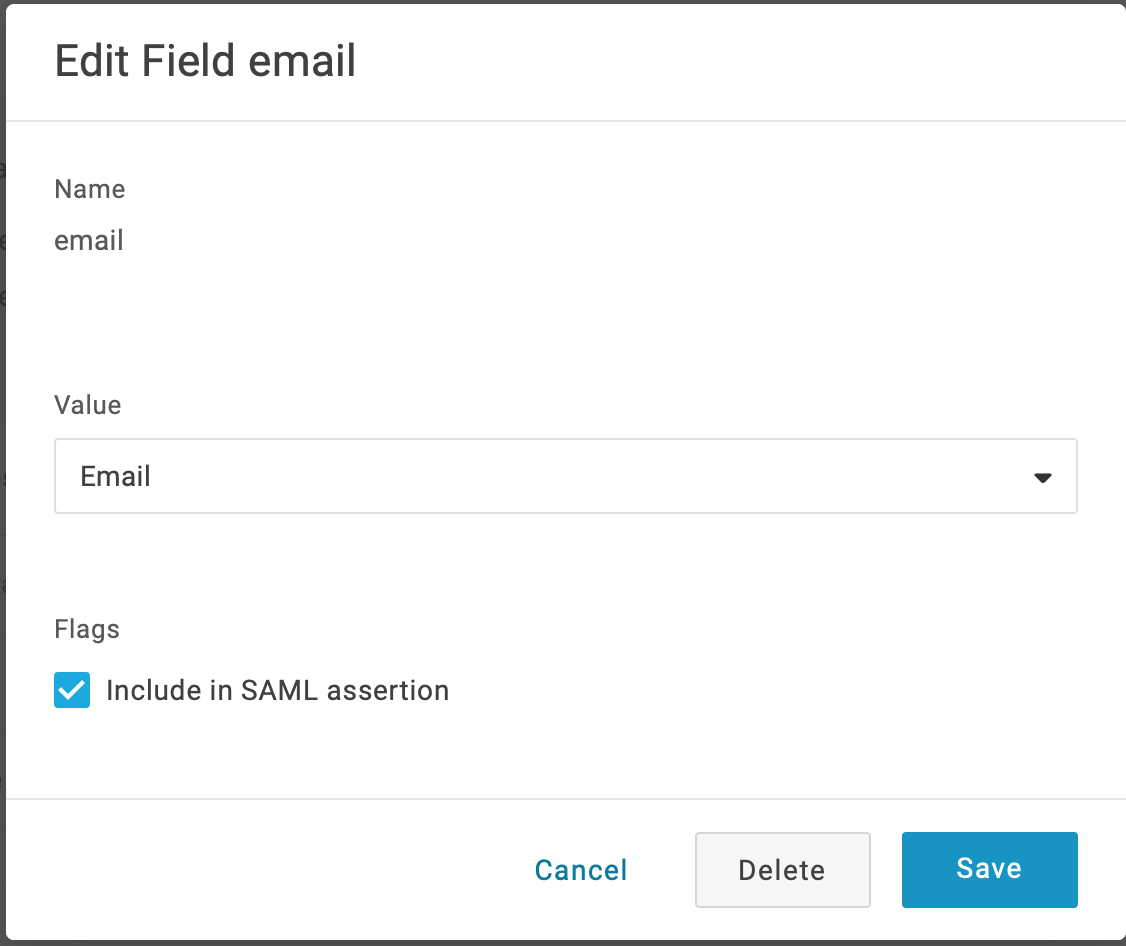
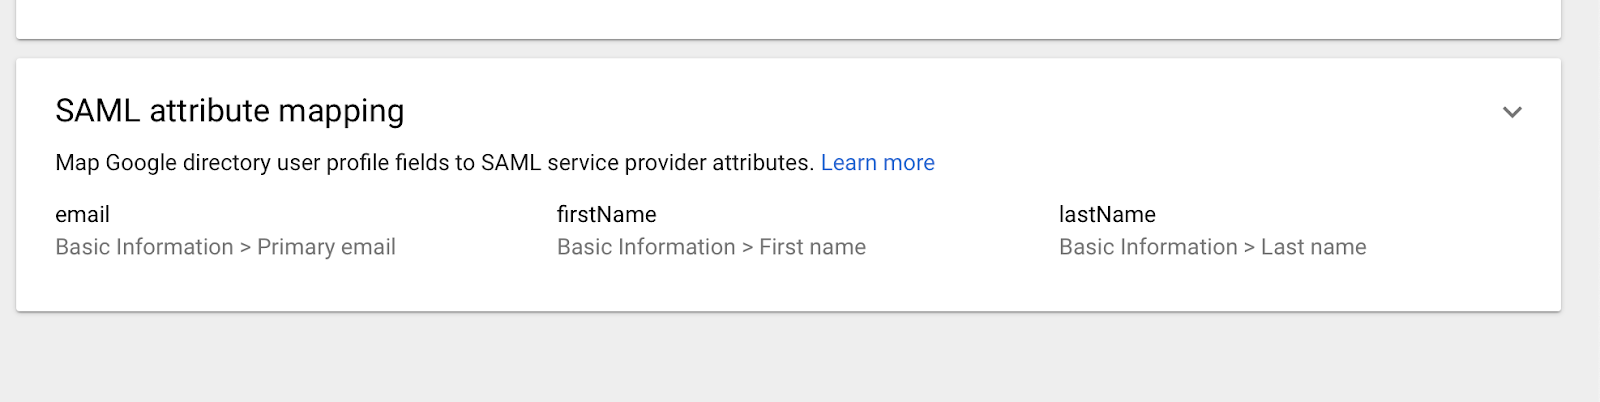
Now Click on the (Add new claim) and fill it as it is shown in (Additional Claims and value)
Claim name: Email Value: user.mail
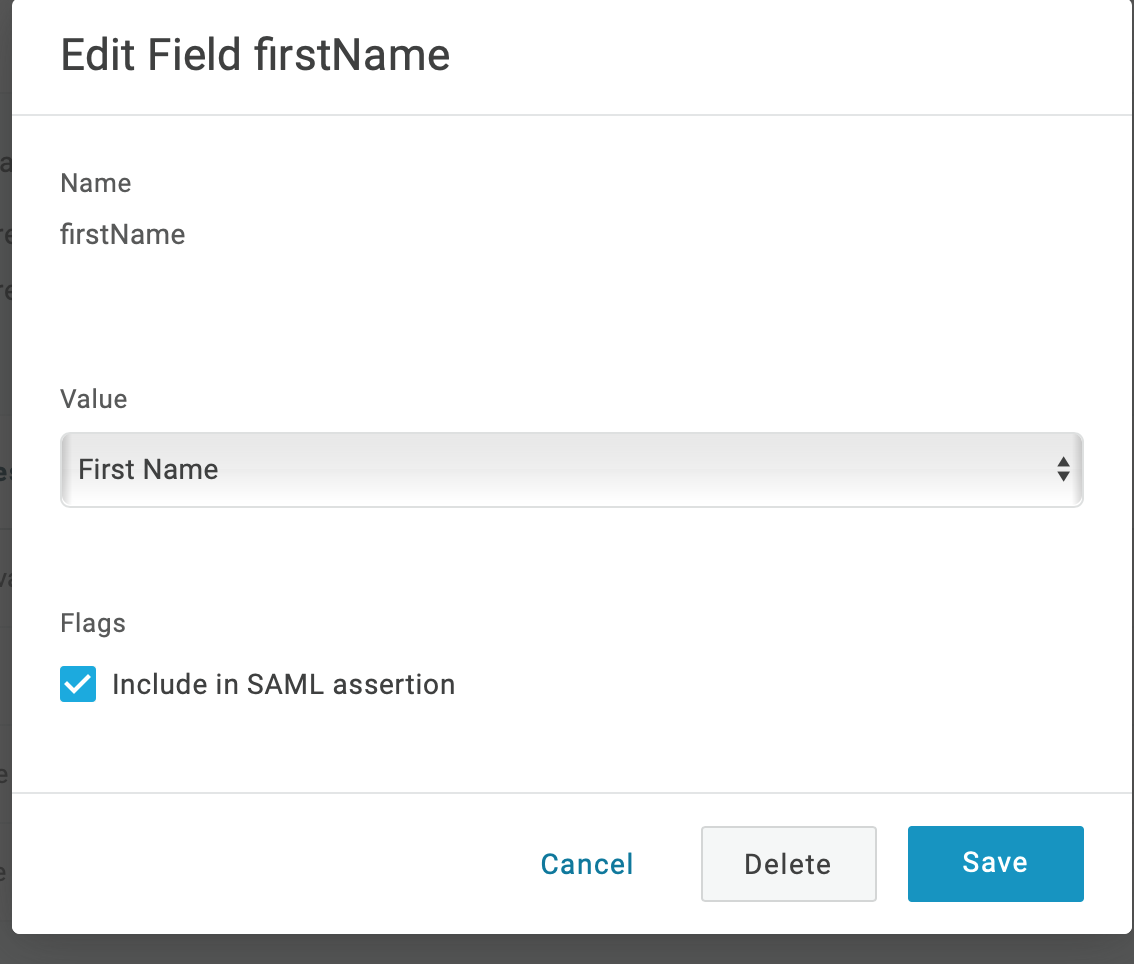
Claim name: firstName Value:user.givenname
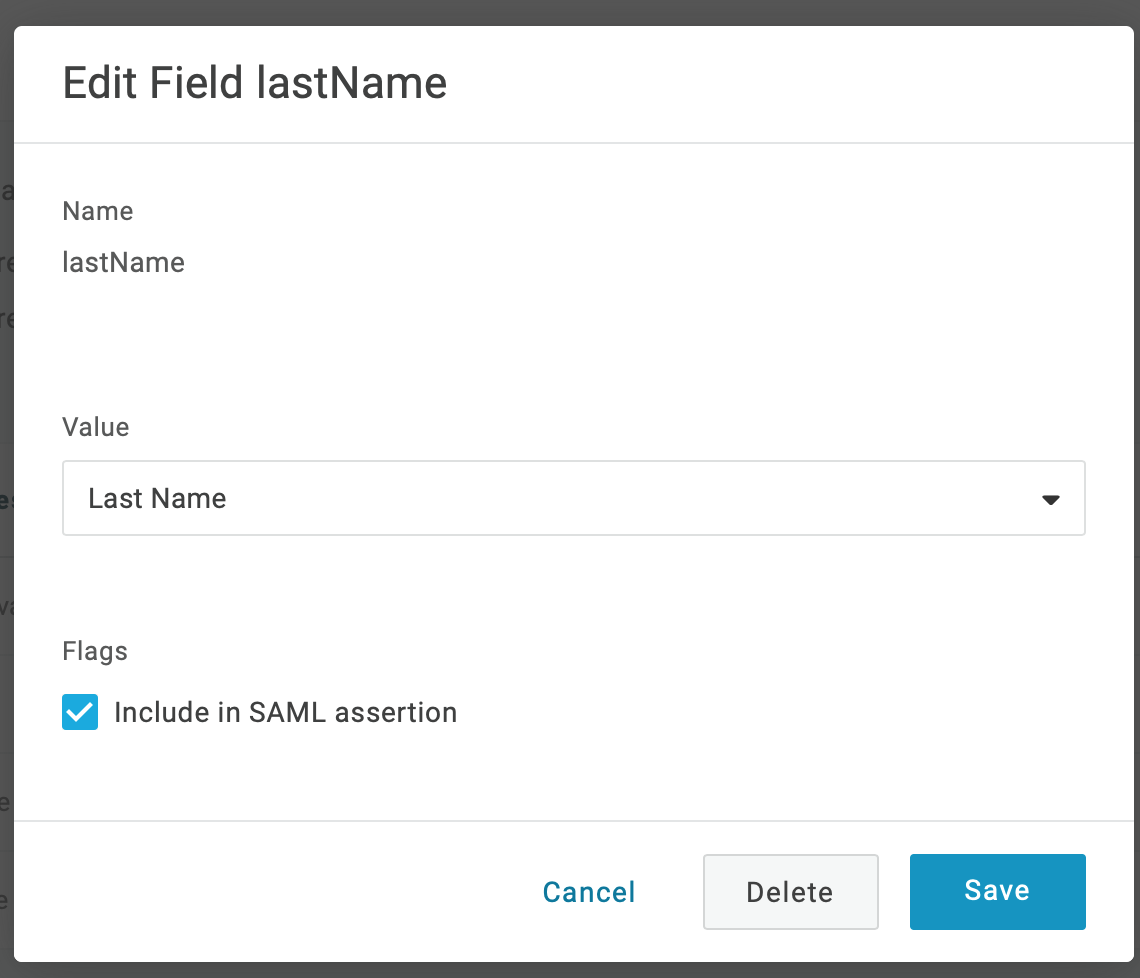
Clain name lastName Value:user.surname
Put all these new claims and remove all others make sure it looks like as in screen above
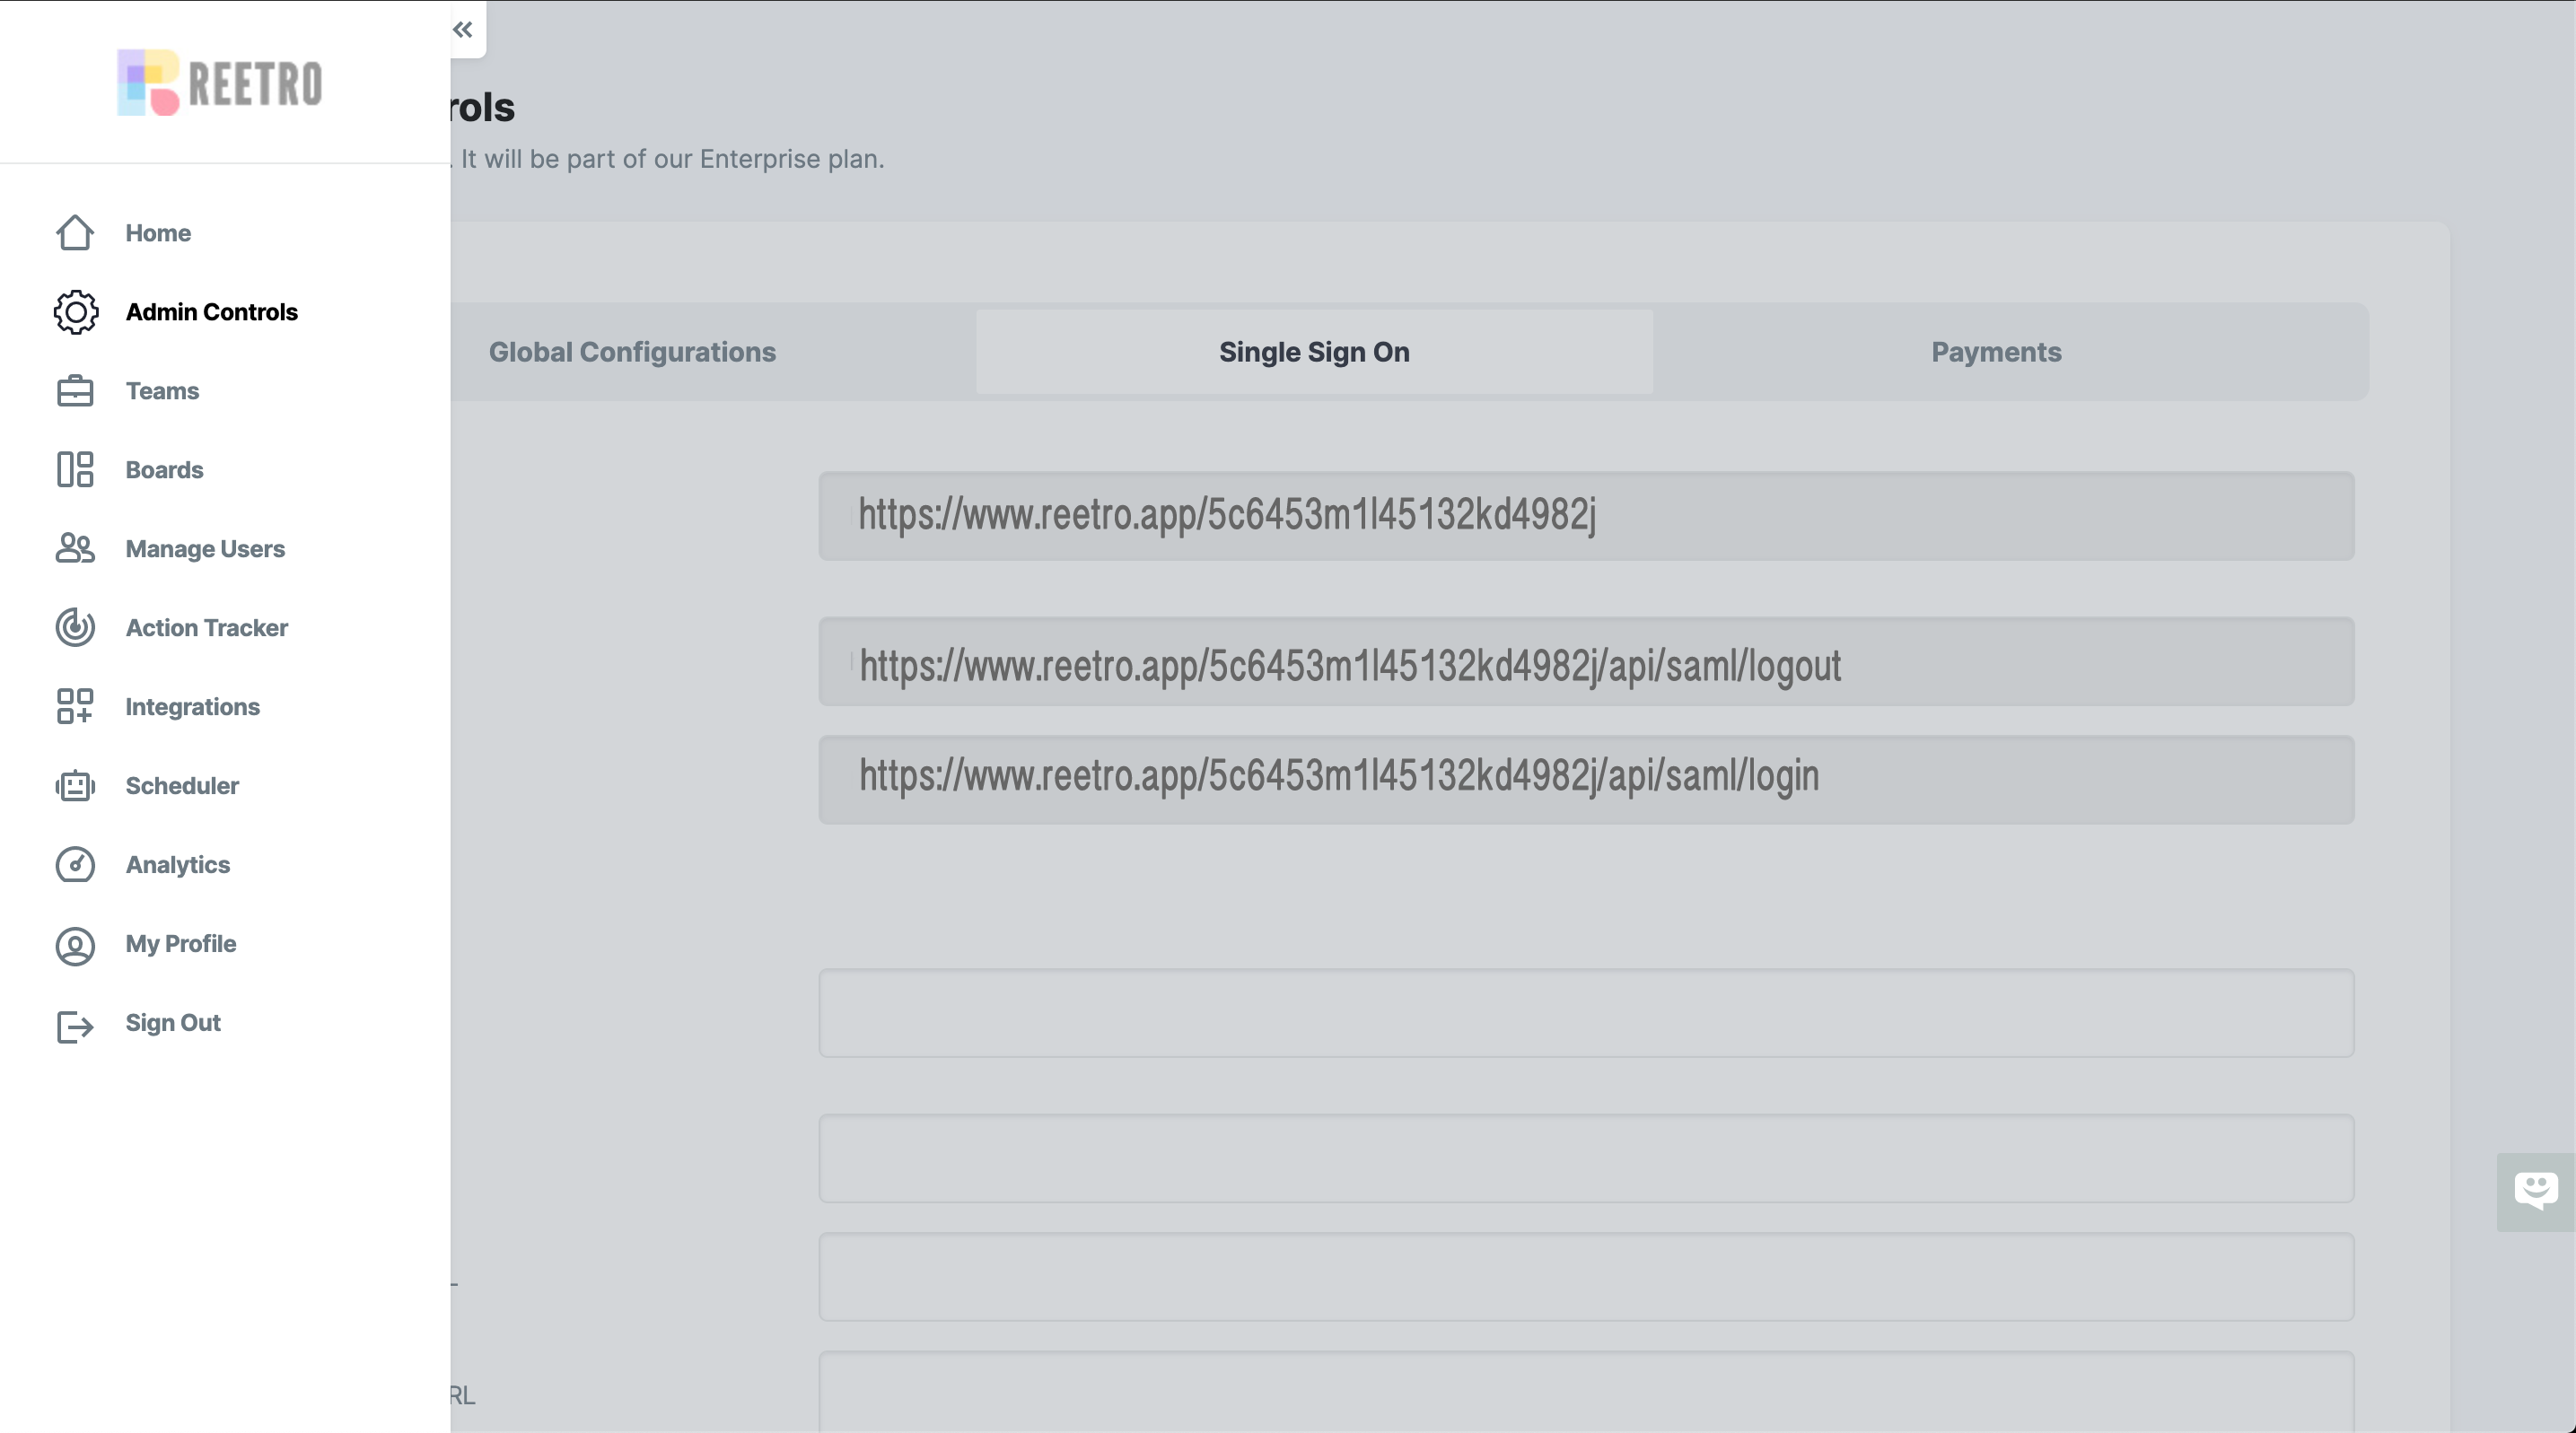
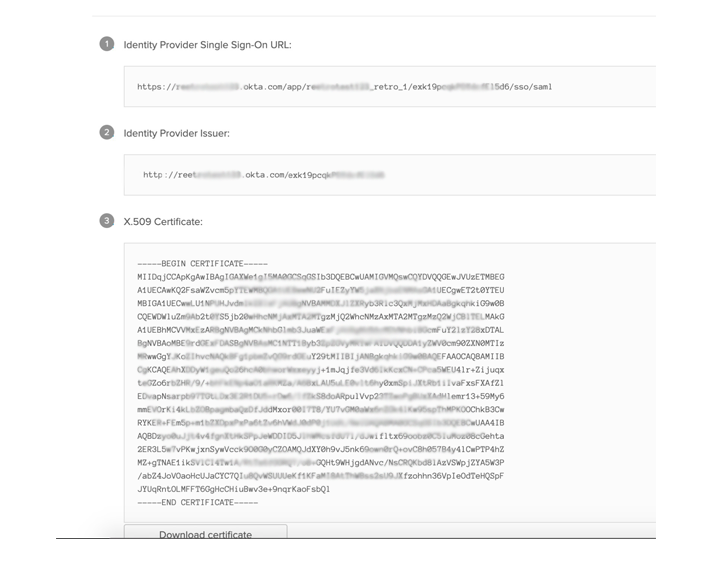
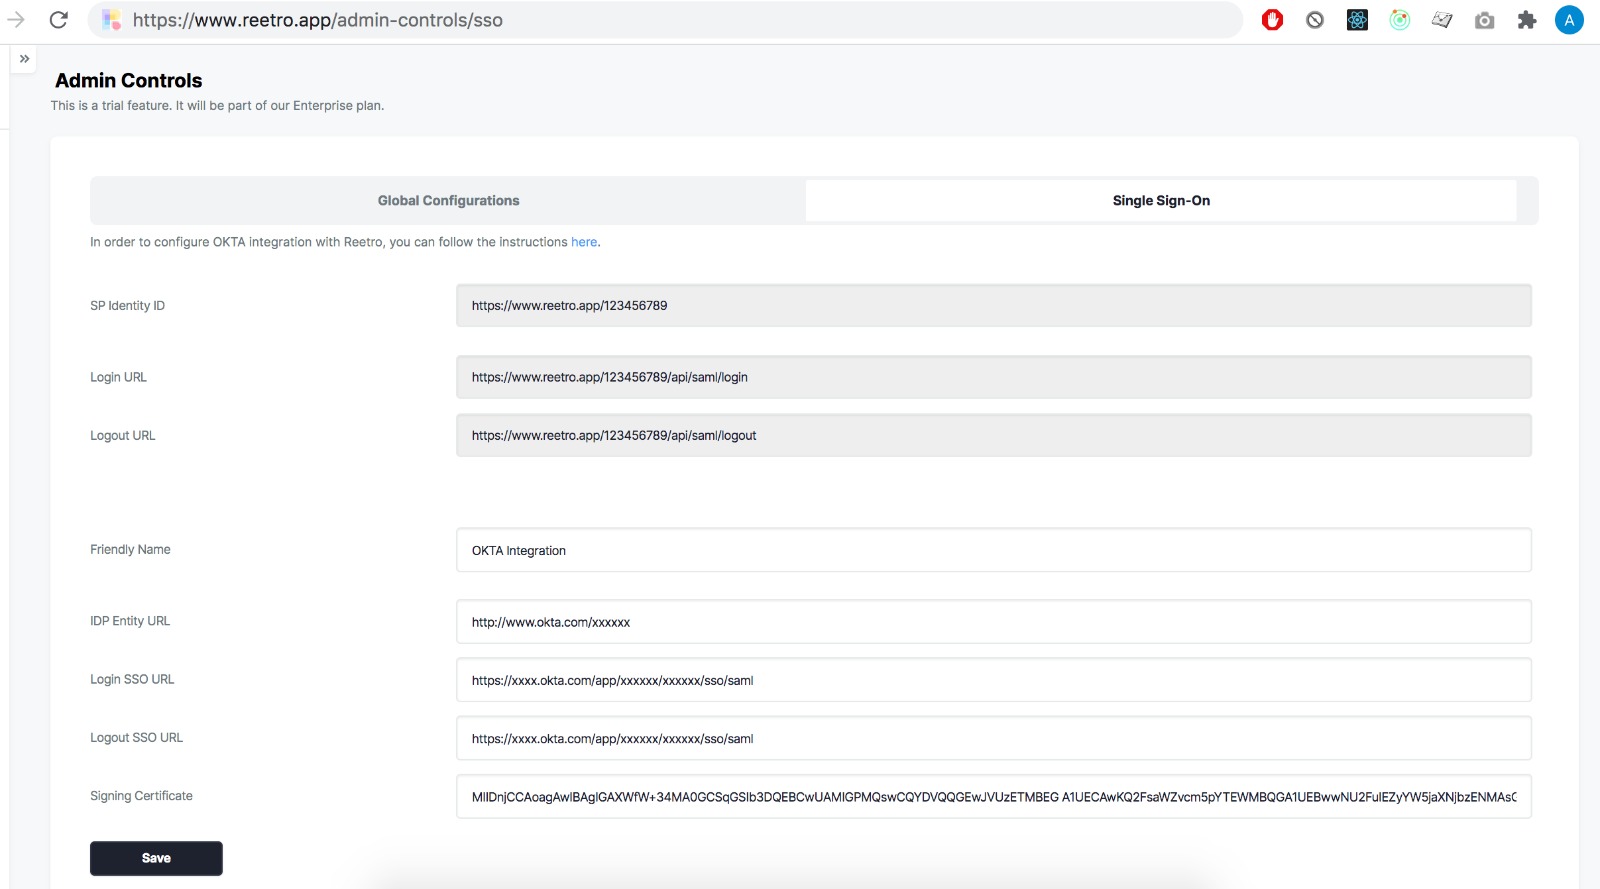
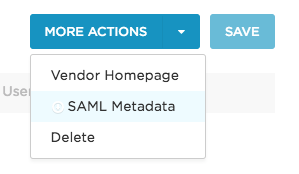
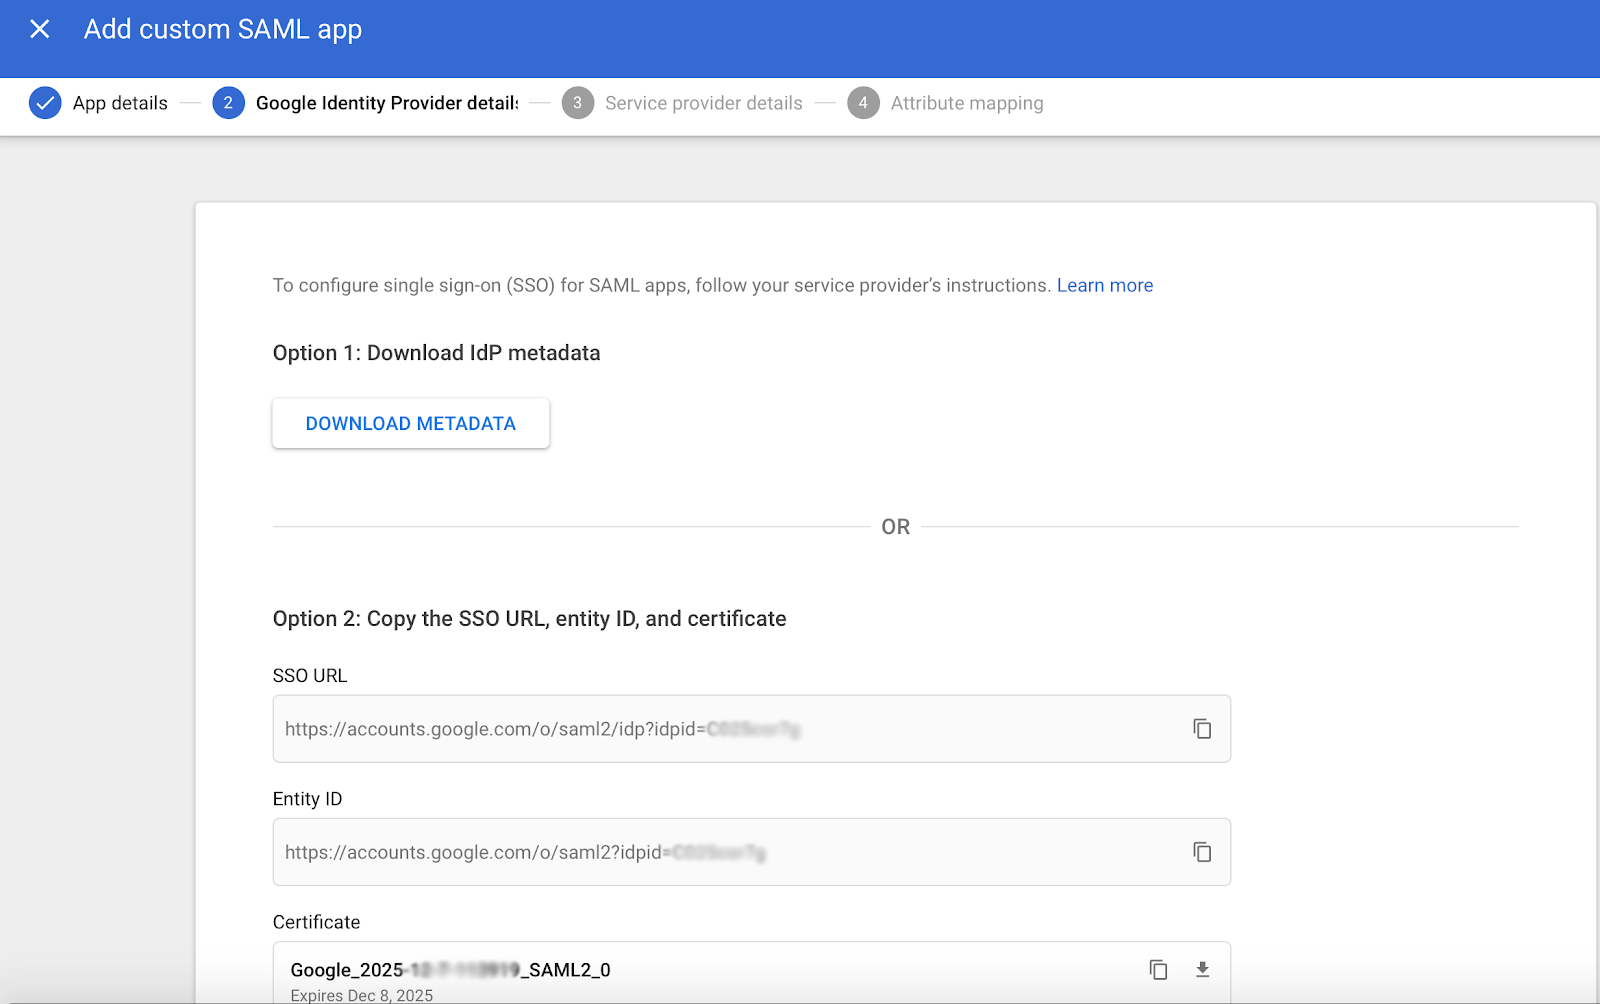
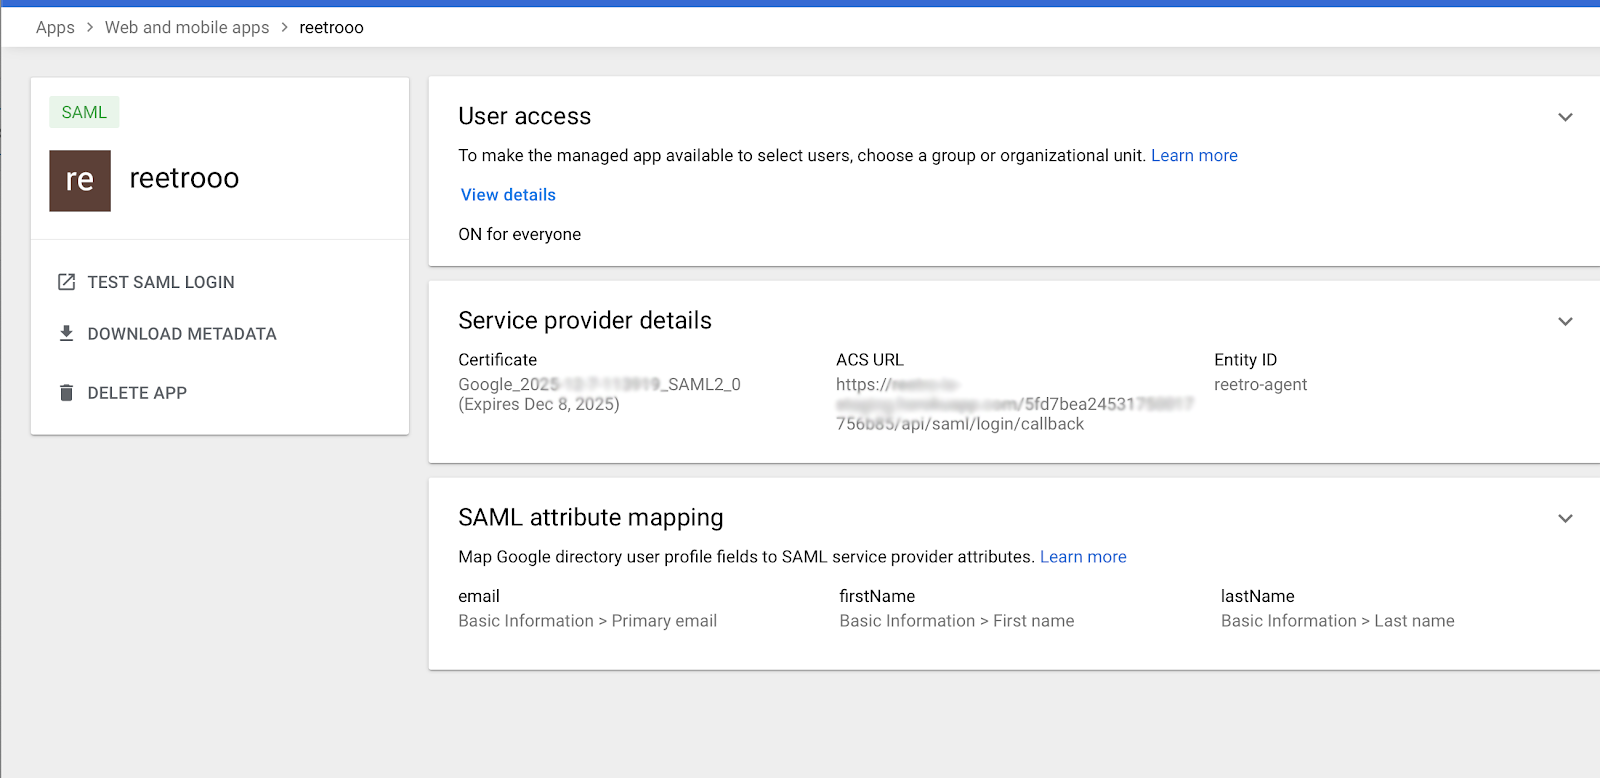
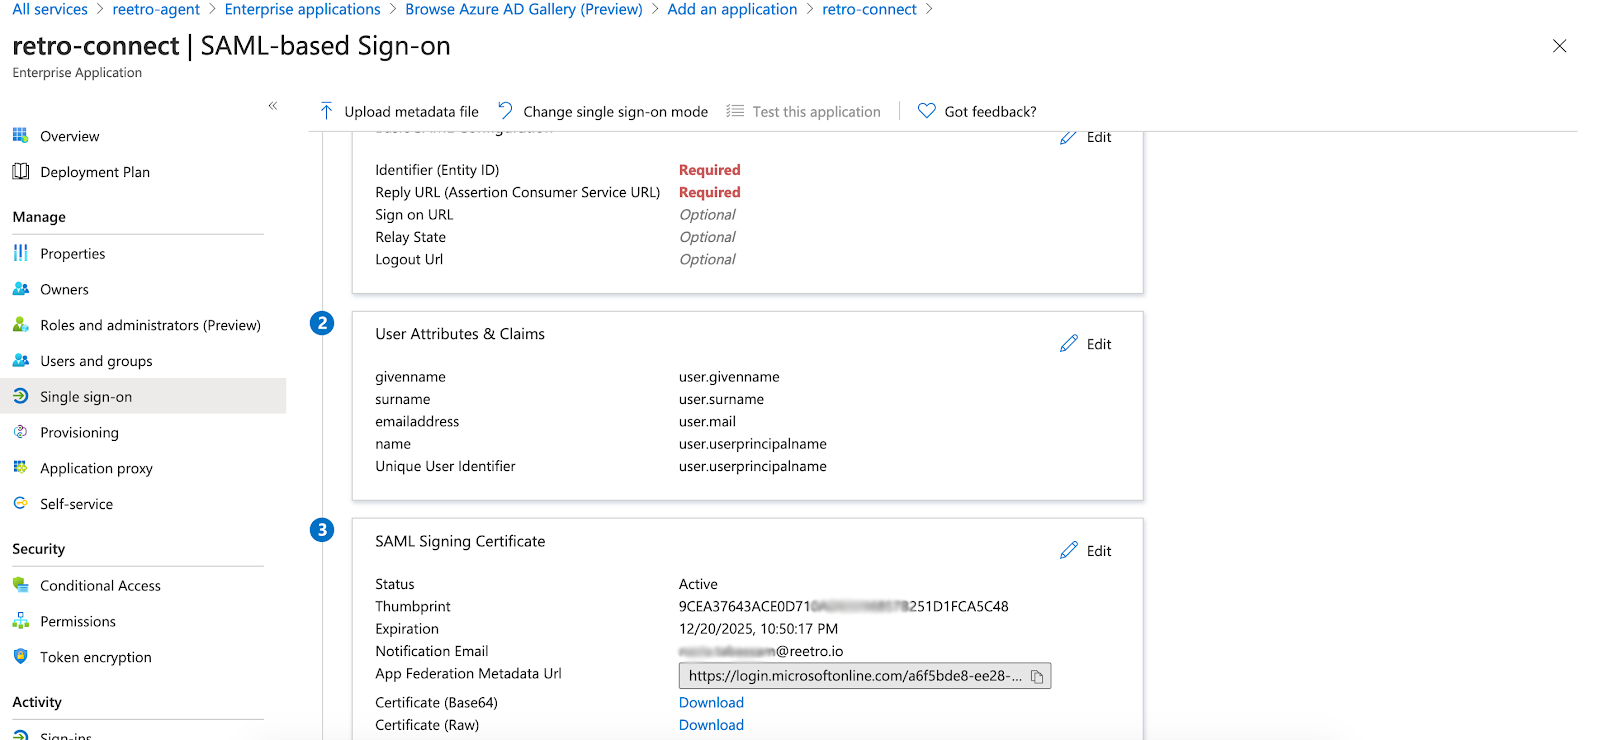
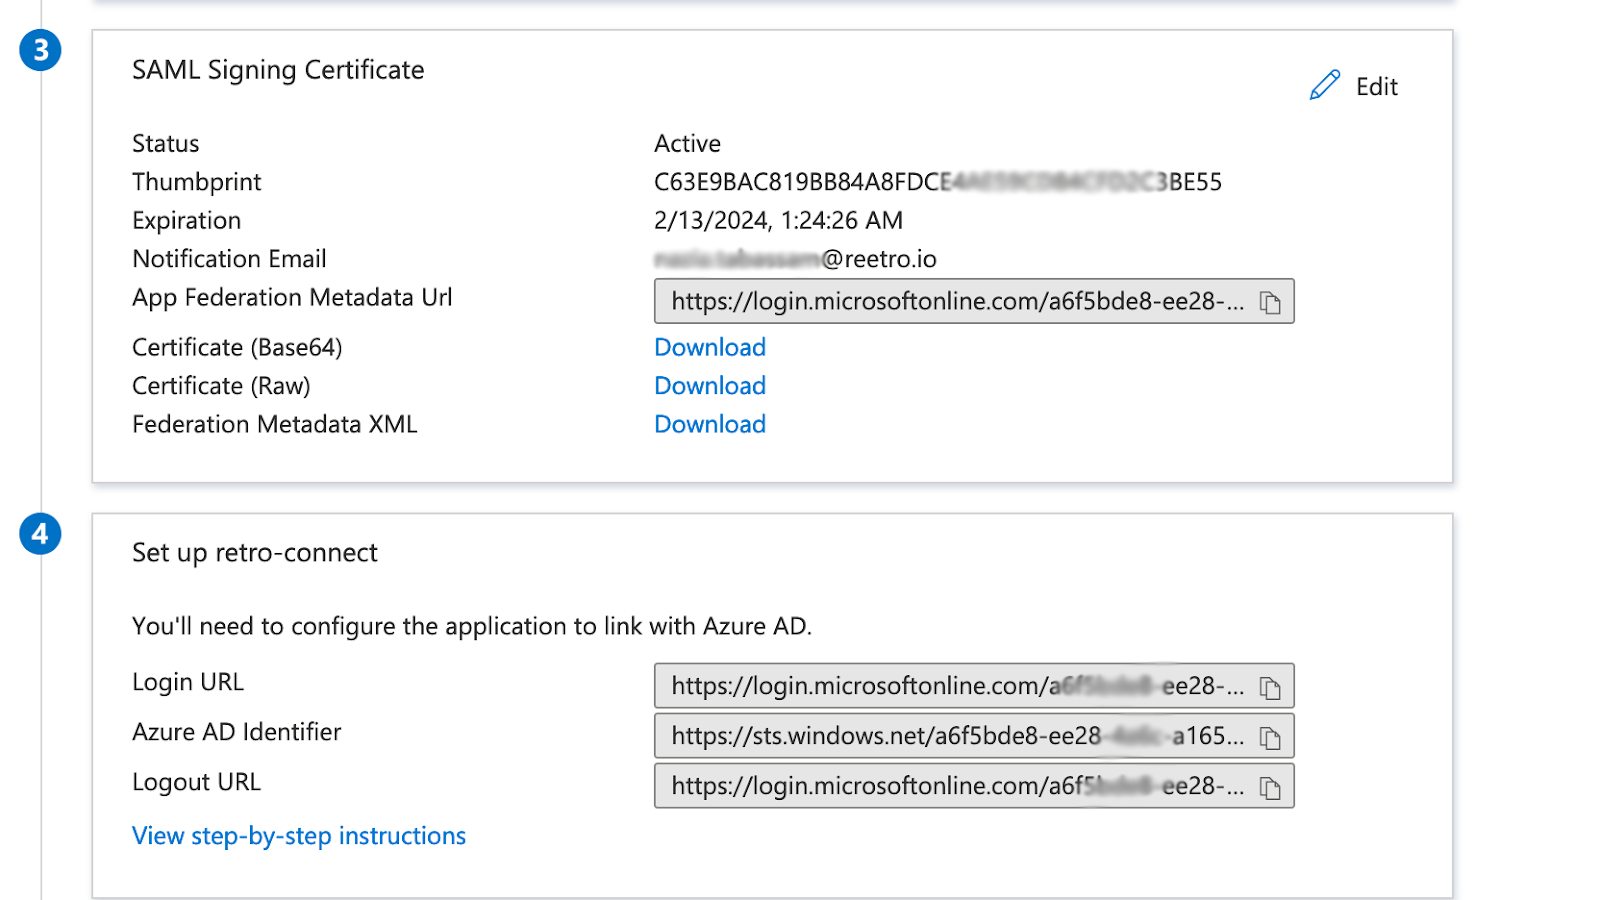
After this step now copy/download the Certificate and paste it in Reetroapp -> SSO page ->
Signing certificate field
Download the certificate as (Certificate (Base64)) then open it -> copy it-> paste it at
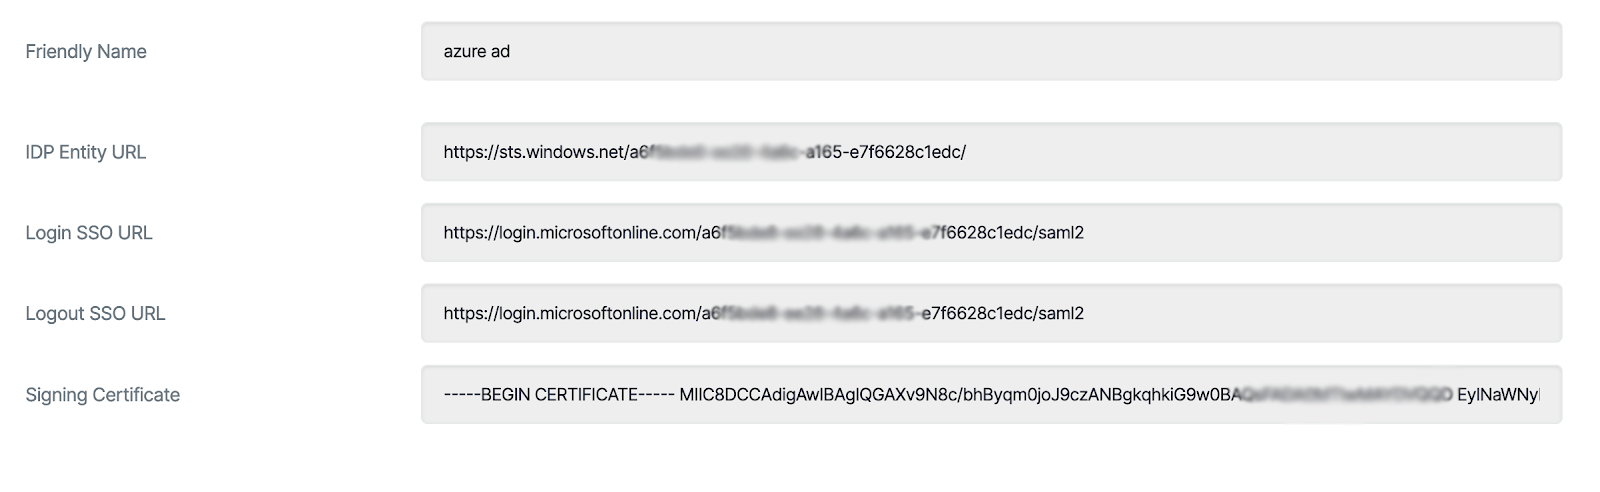
Reetroapp -> SSO page -> Signing certificate field
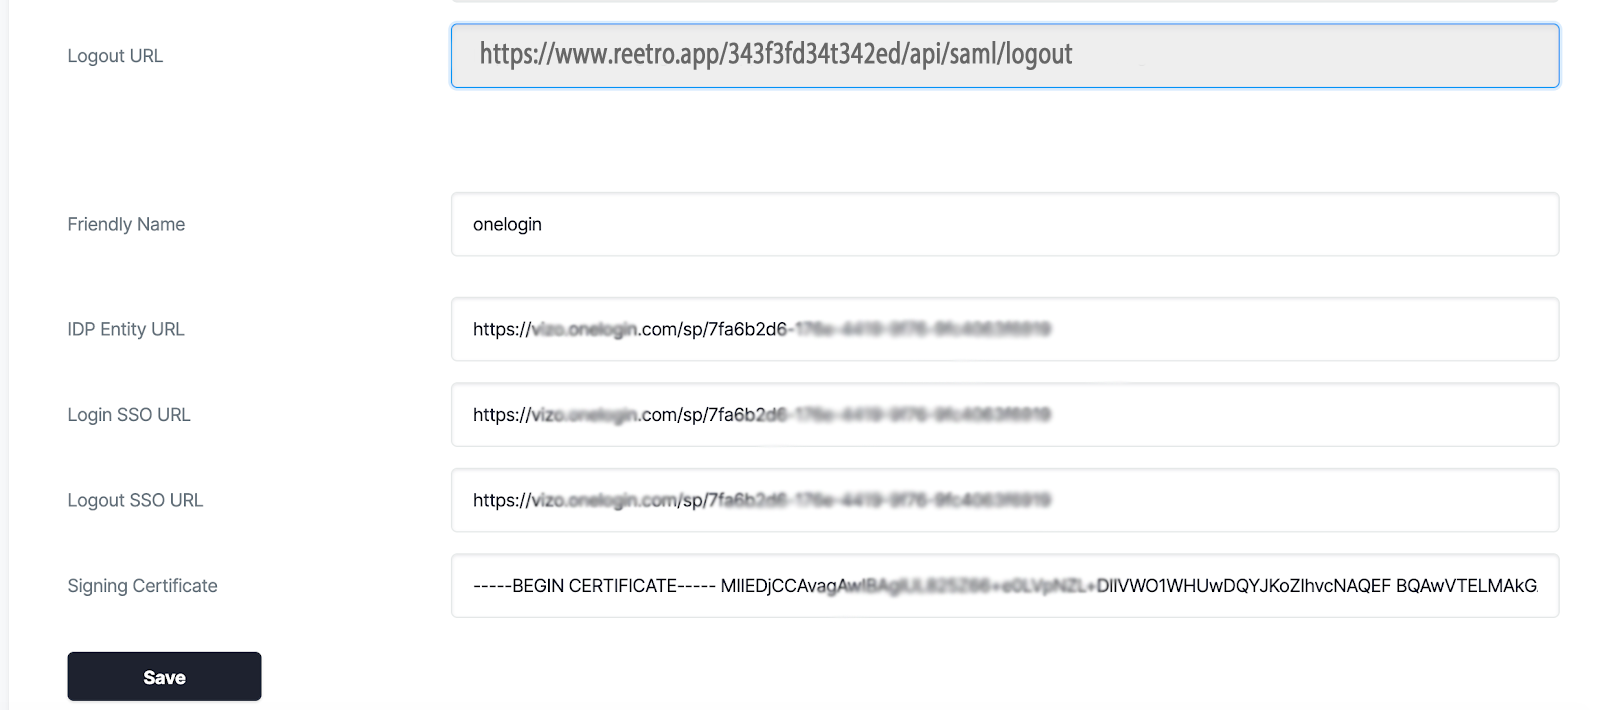
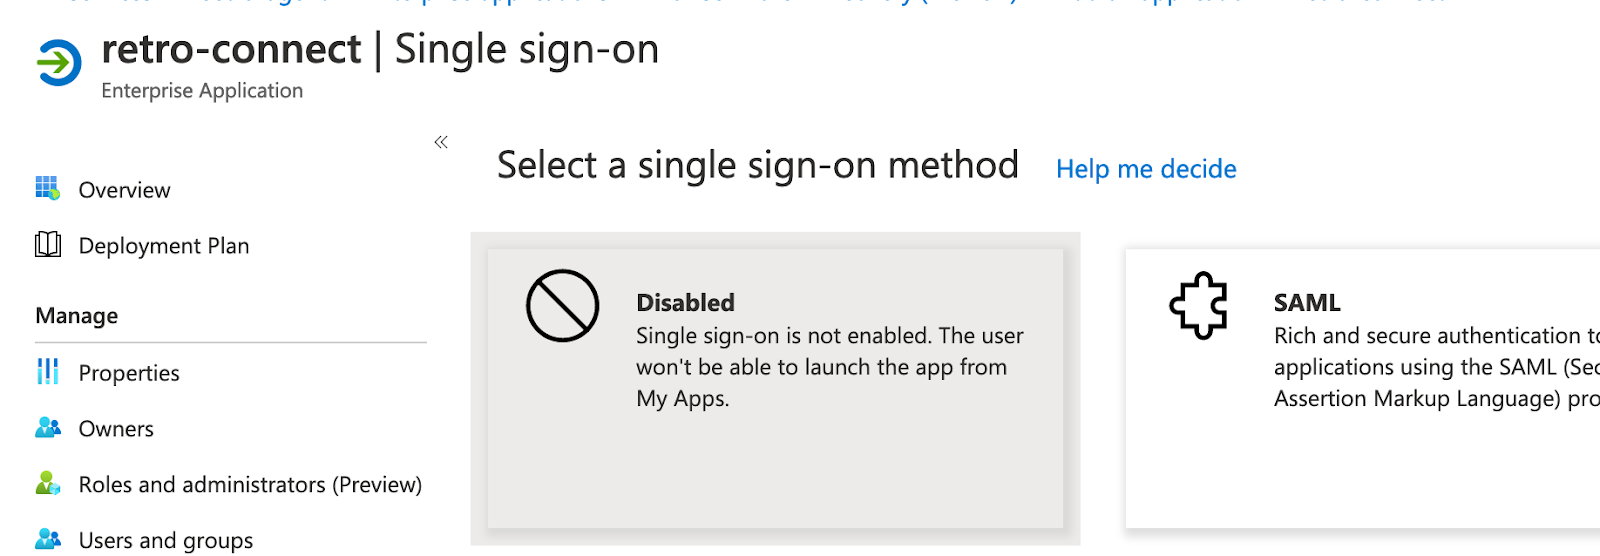
Now follow the Step 4 from the above screen
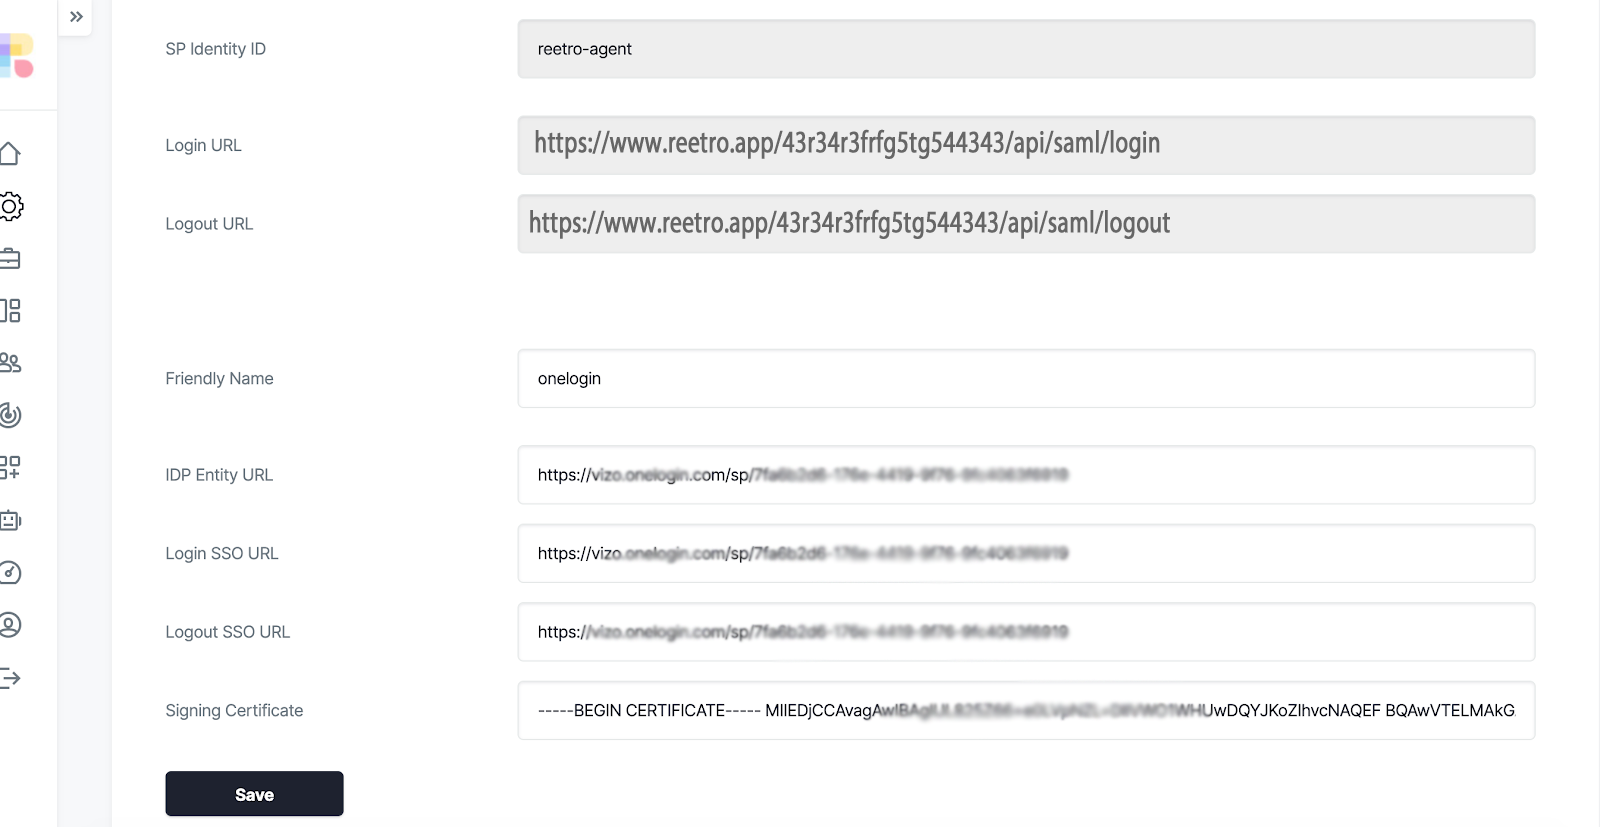
Copy AzureAD field: Login URL and paste it Reetro field of ( Login SSO URL)
Copy AzureAD field: Azure AD identified and paste it Reetro field of (IDP Entity URL)
Copy AzureAD field: Azure AD identified and paste it Reetro field of ( Logout SSO URL )
And successfully copy pasting it press save changes in Reetro app as in below screen
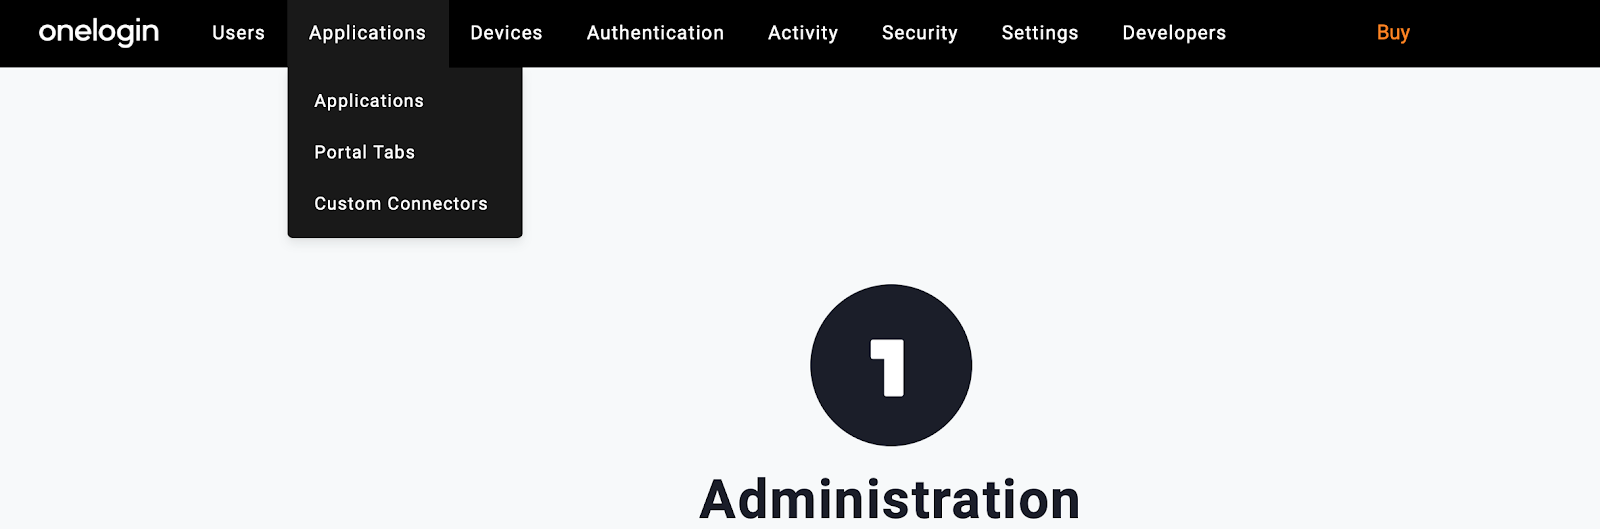
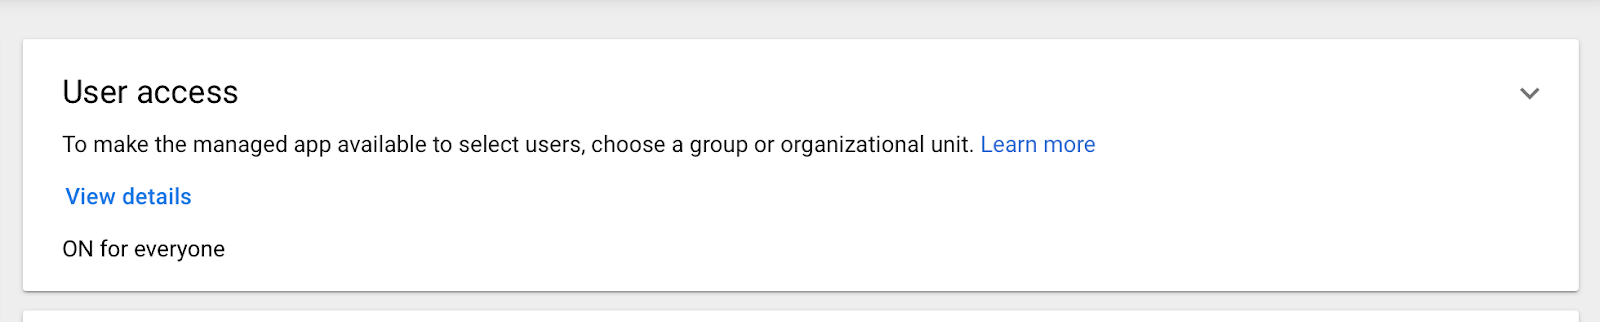
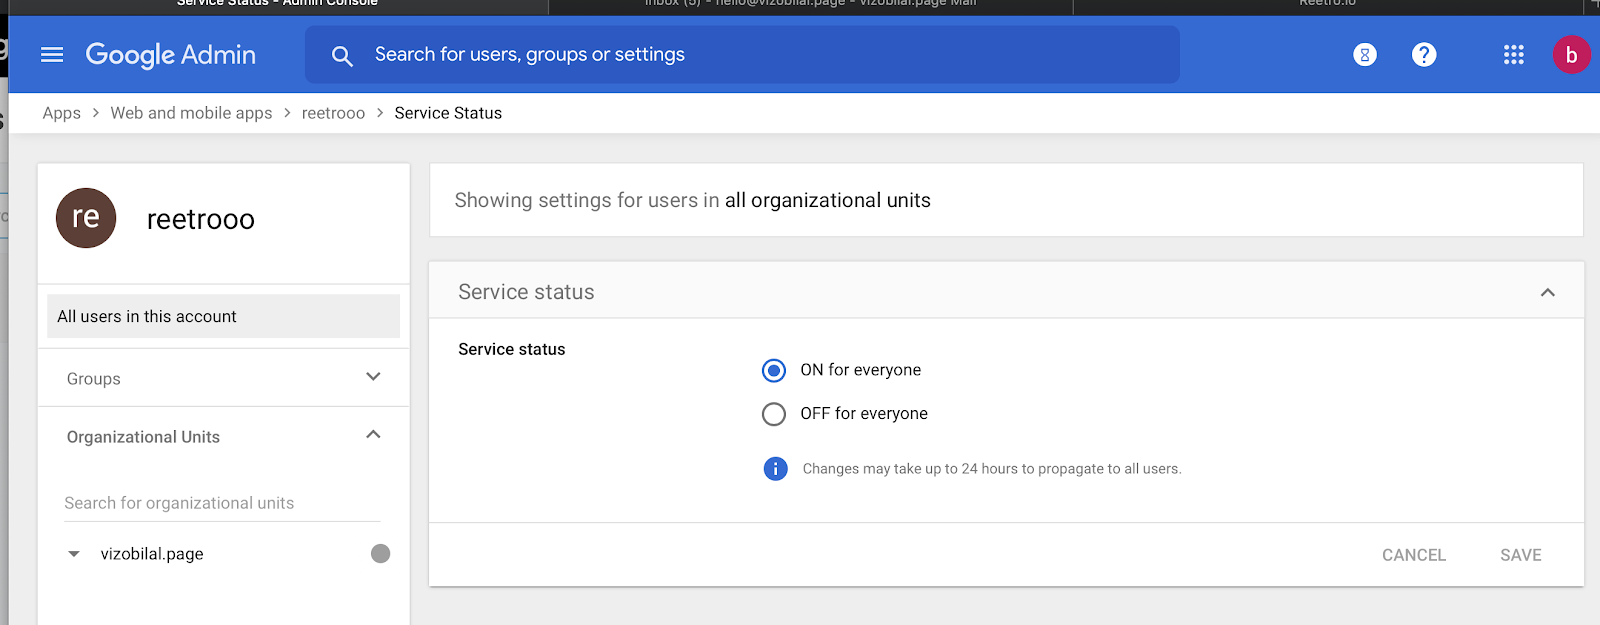
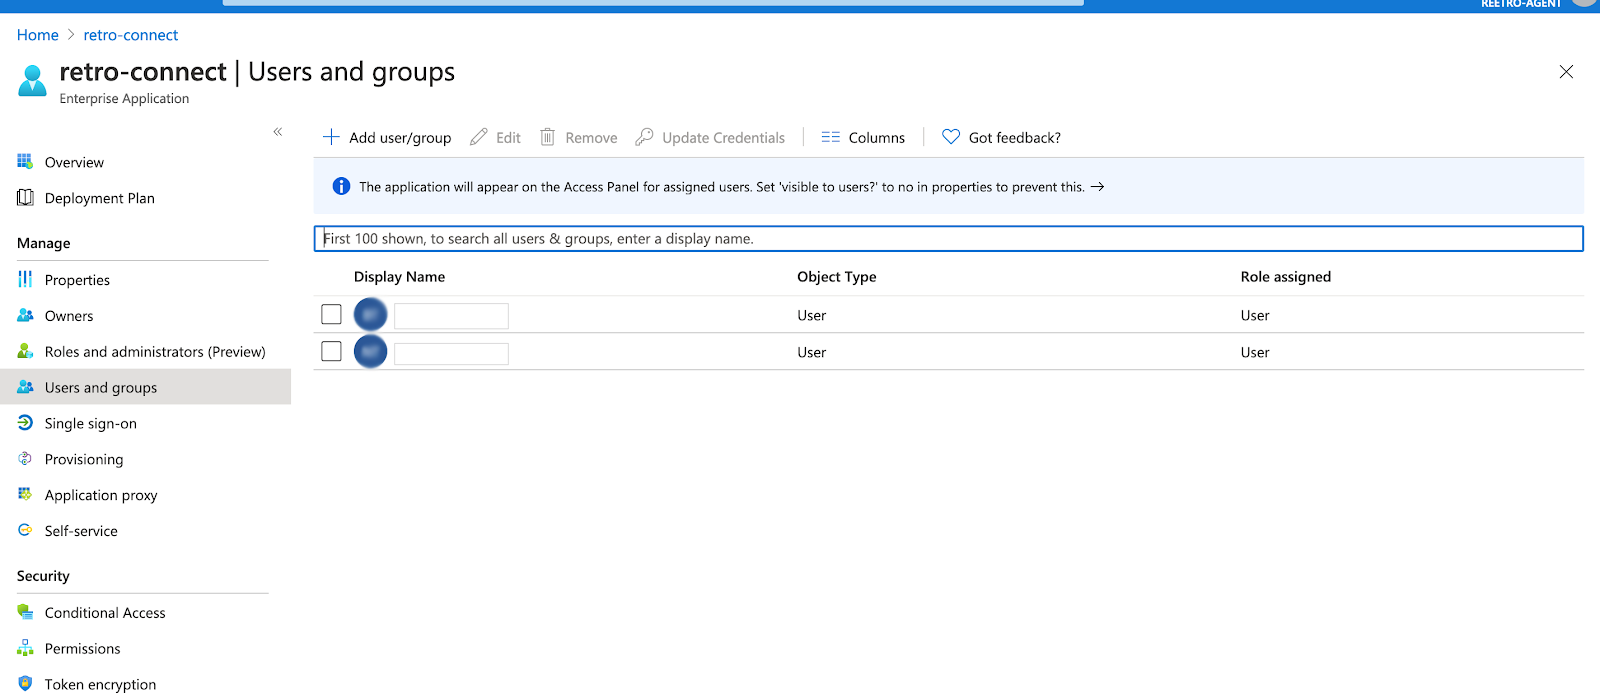
Now add the users for this app
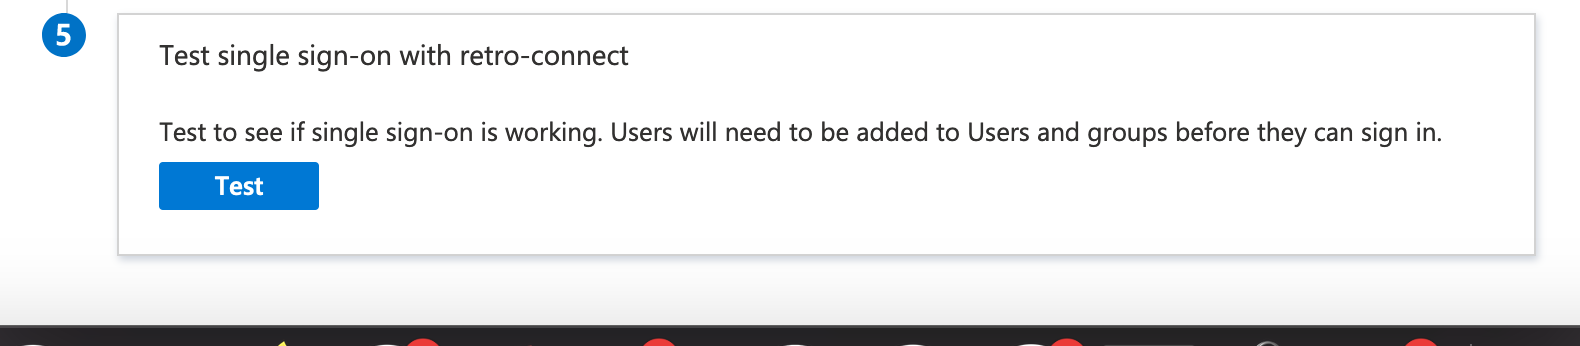
Once users are added -> Now go again to Signle sign on-> and test the connection